Pages

Showing posts with label Tasty Tuesdays. Show all posts

Tuesday, August 12, 2014

Tasty Tuesday: Steak and Avocado Slider Meal

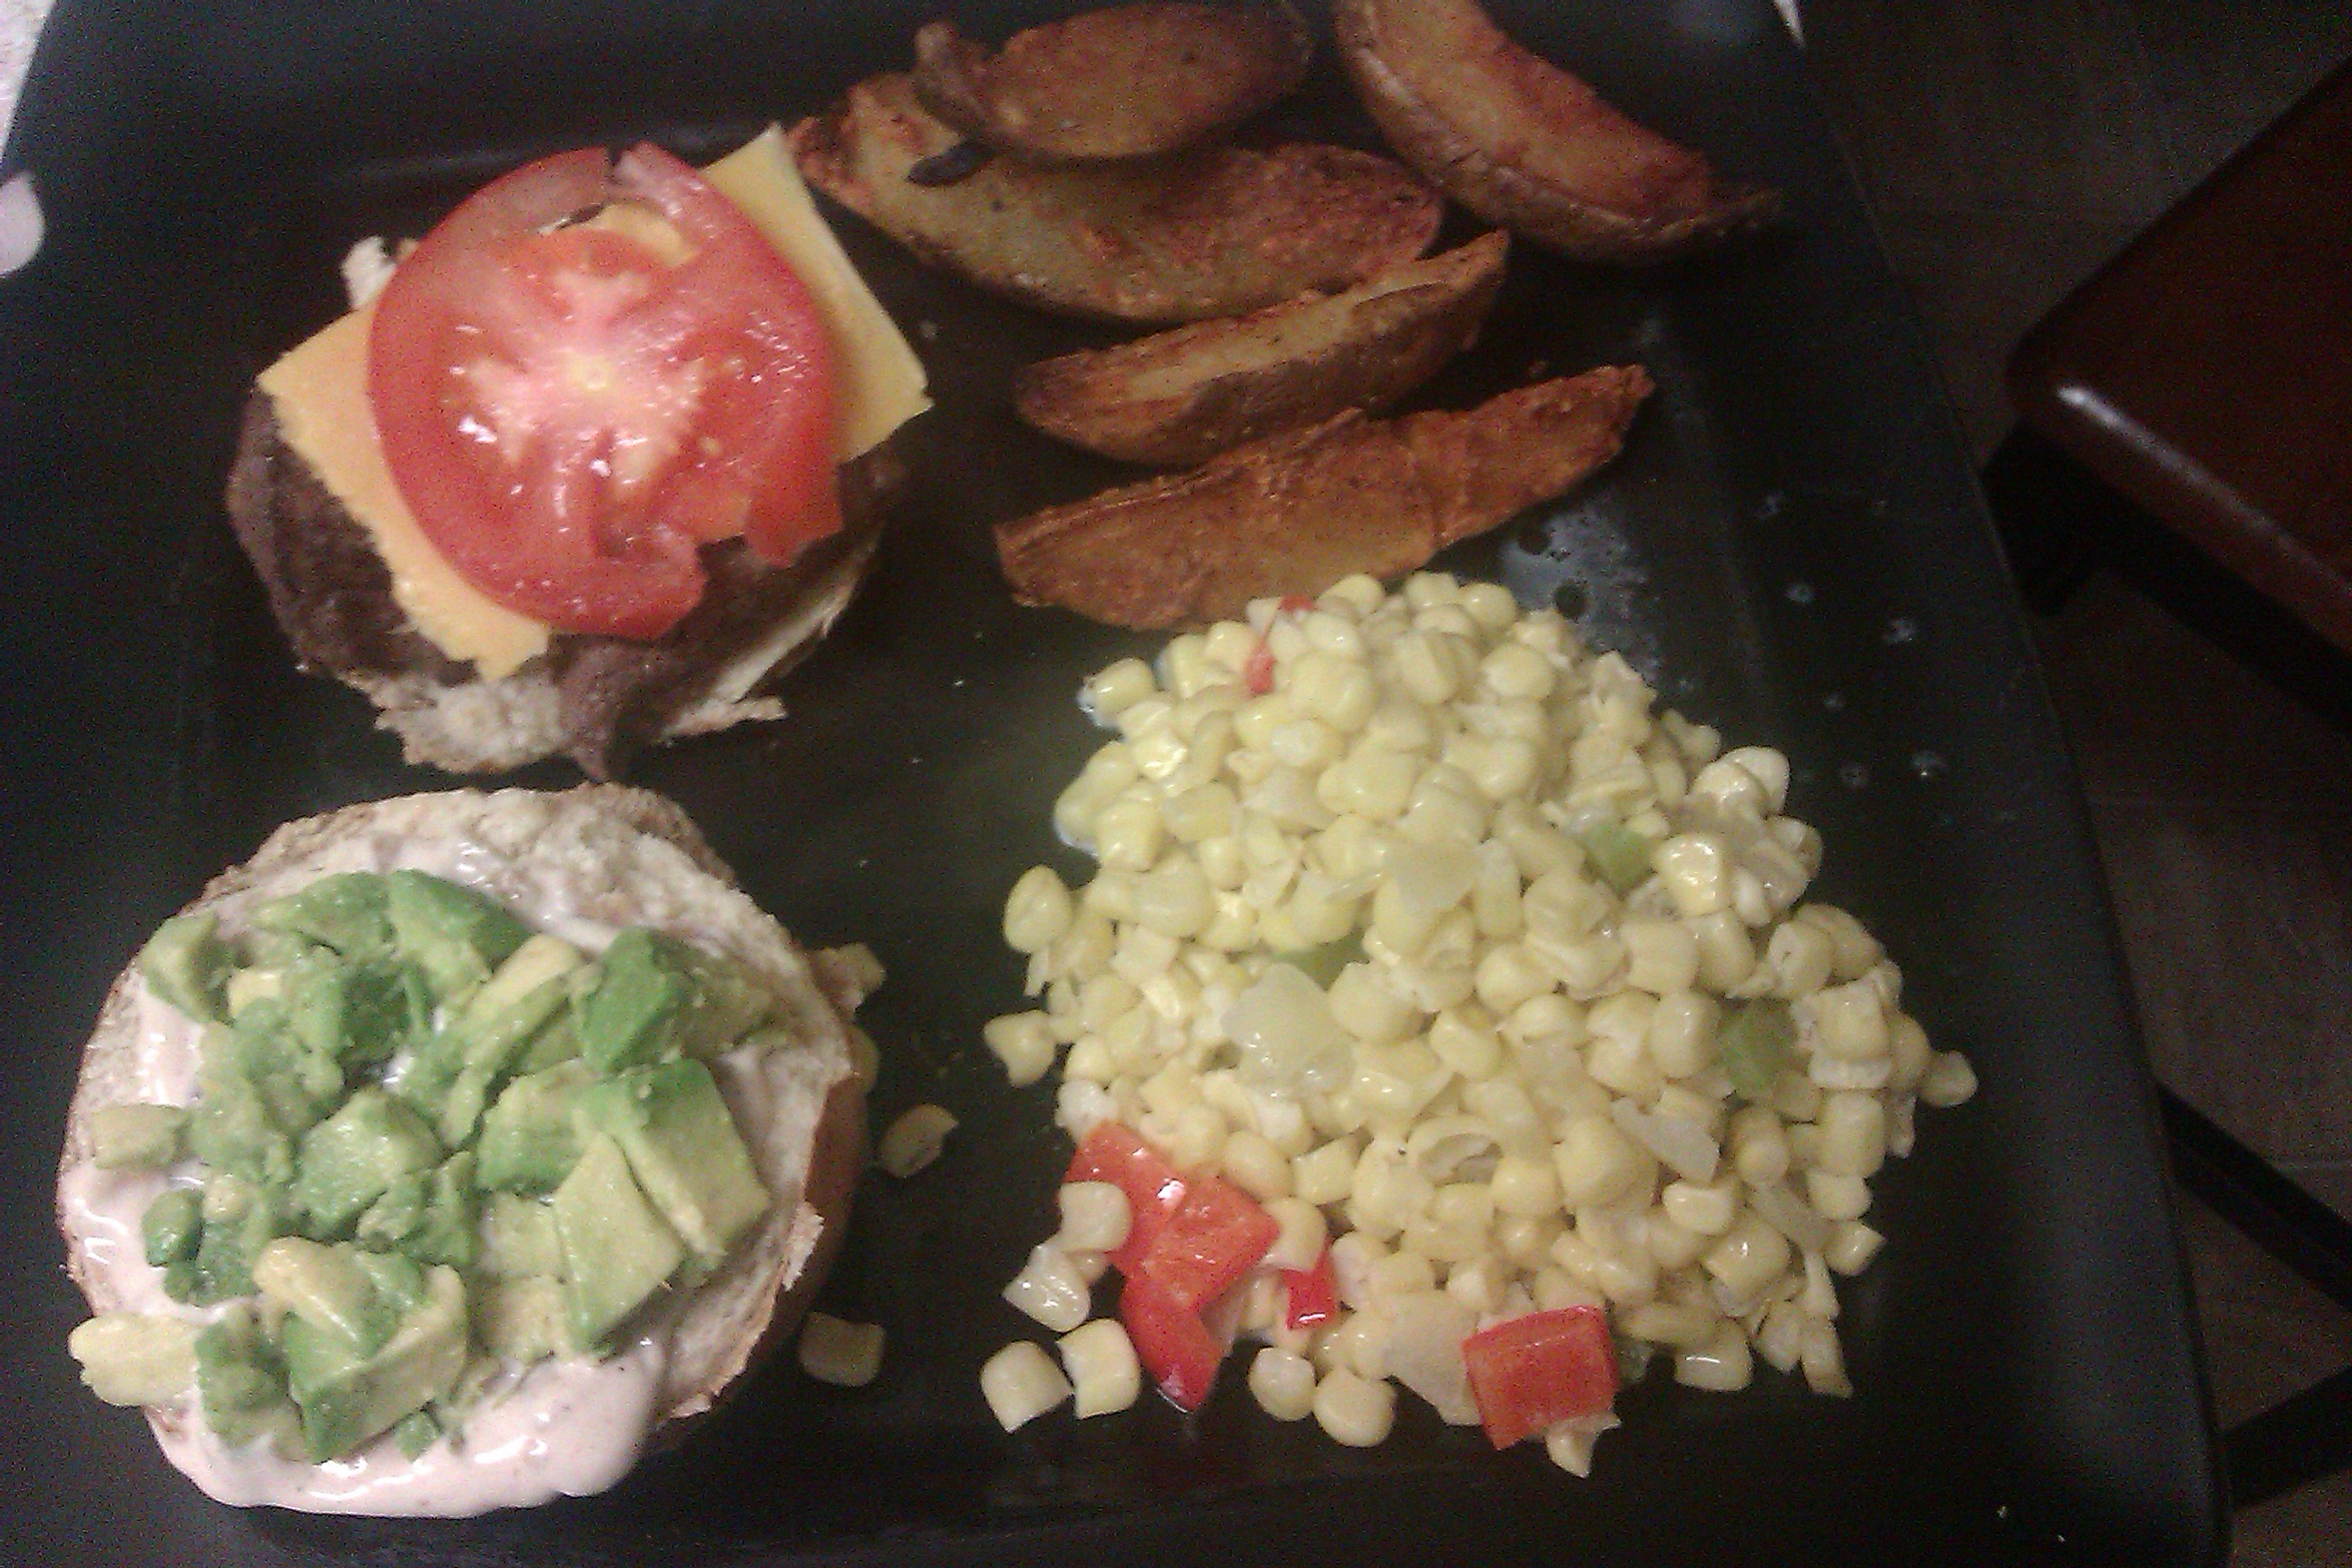
Happy Tasty Tuesday!! Here is a super delicious meal; Steak and Avocado Sliders, Creamy Corn Casserole, and Crispy Potato Wedges! This meal is perfect for game day or a casual dinner meal. I made it last night for a casual meal in. I wouldn't say it was exactly easy; there are many steps and it's a bit time consuming, but each step itself is easy-peasy so if you have a little bit of time to chop and prepare, you must try this! The great thing too is that you can easily make a lot of each part of the meal so that means leftovers, yum!
IMAG1481
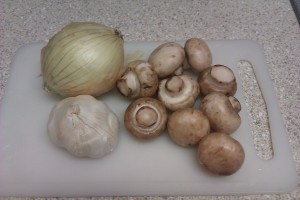
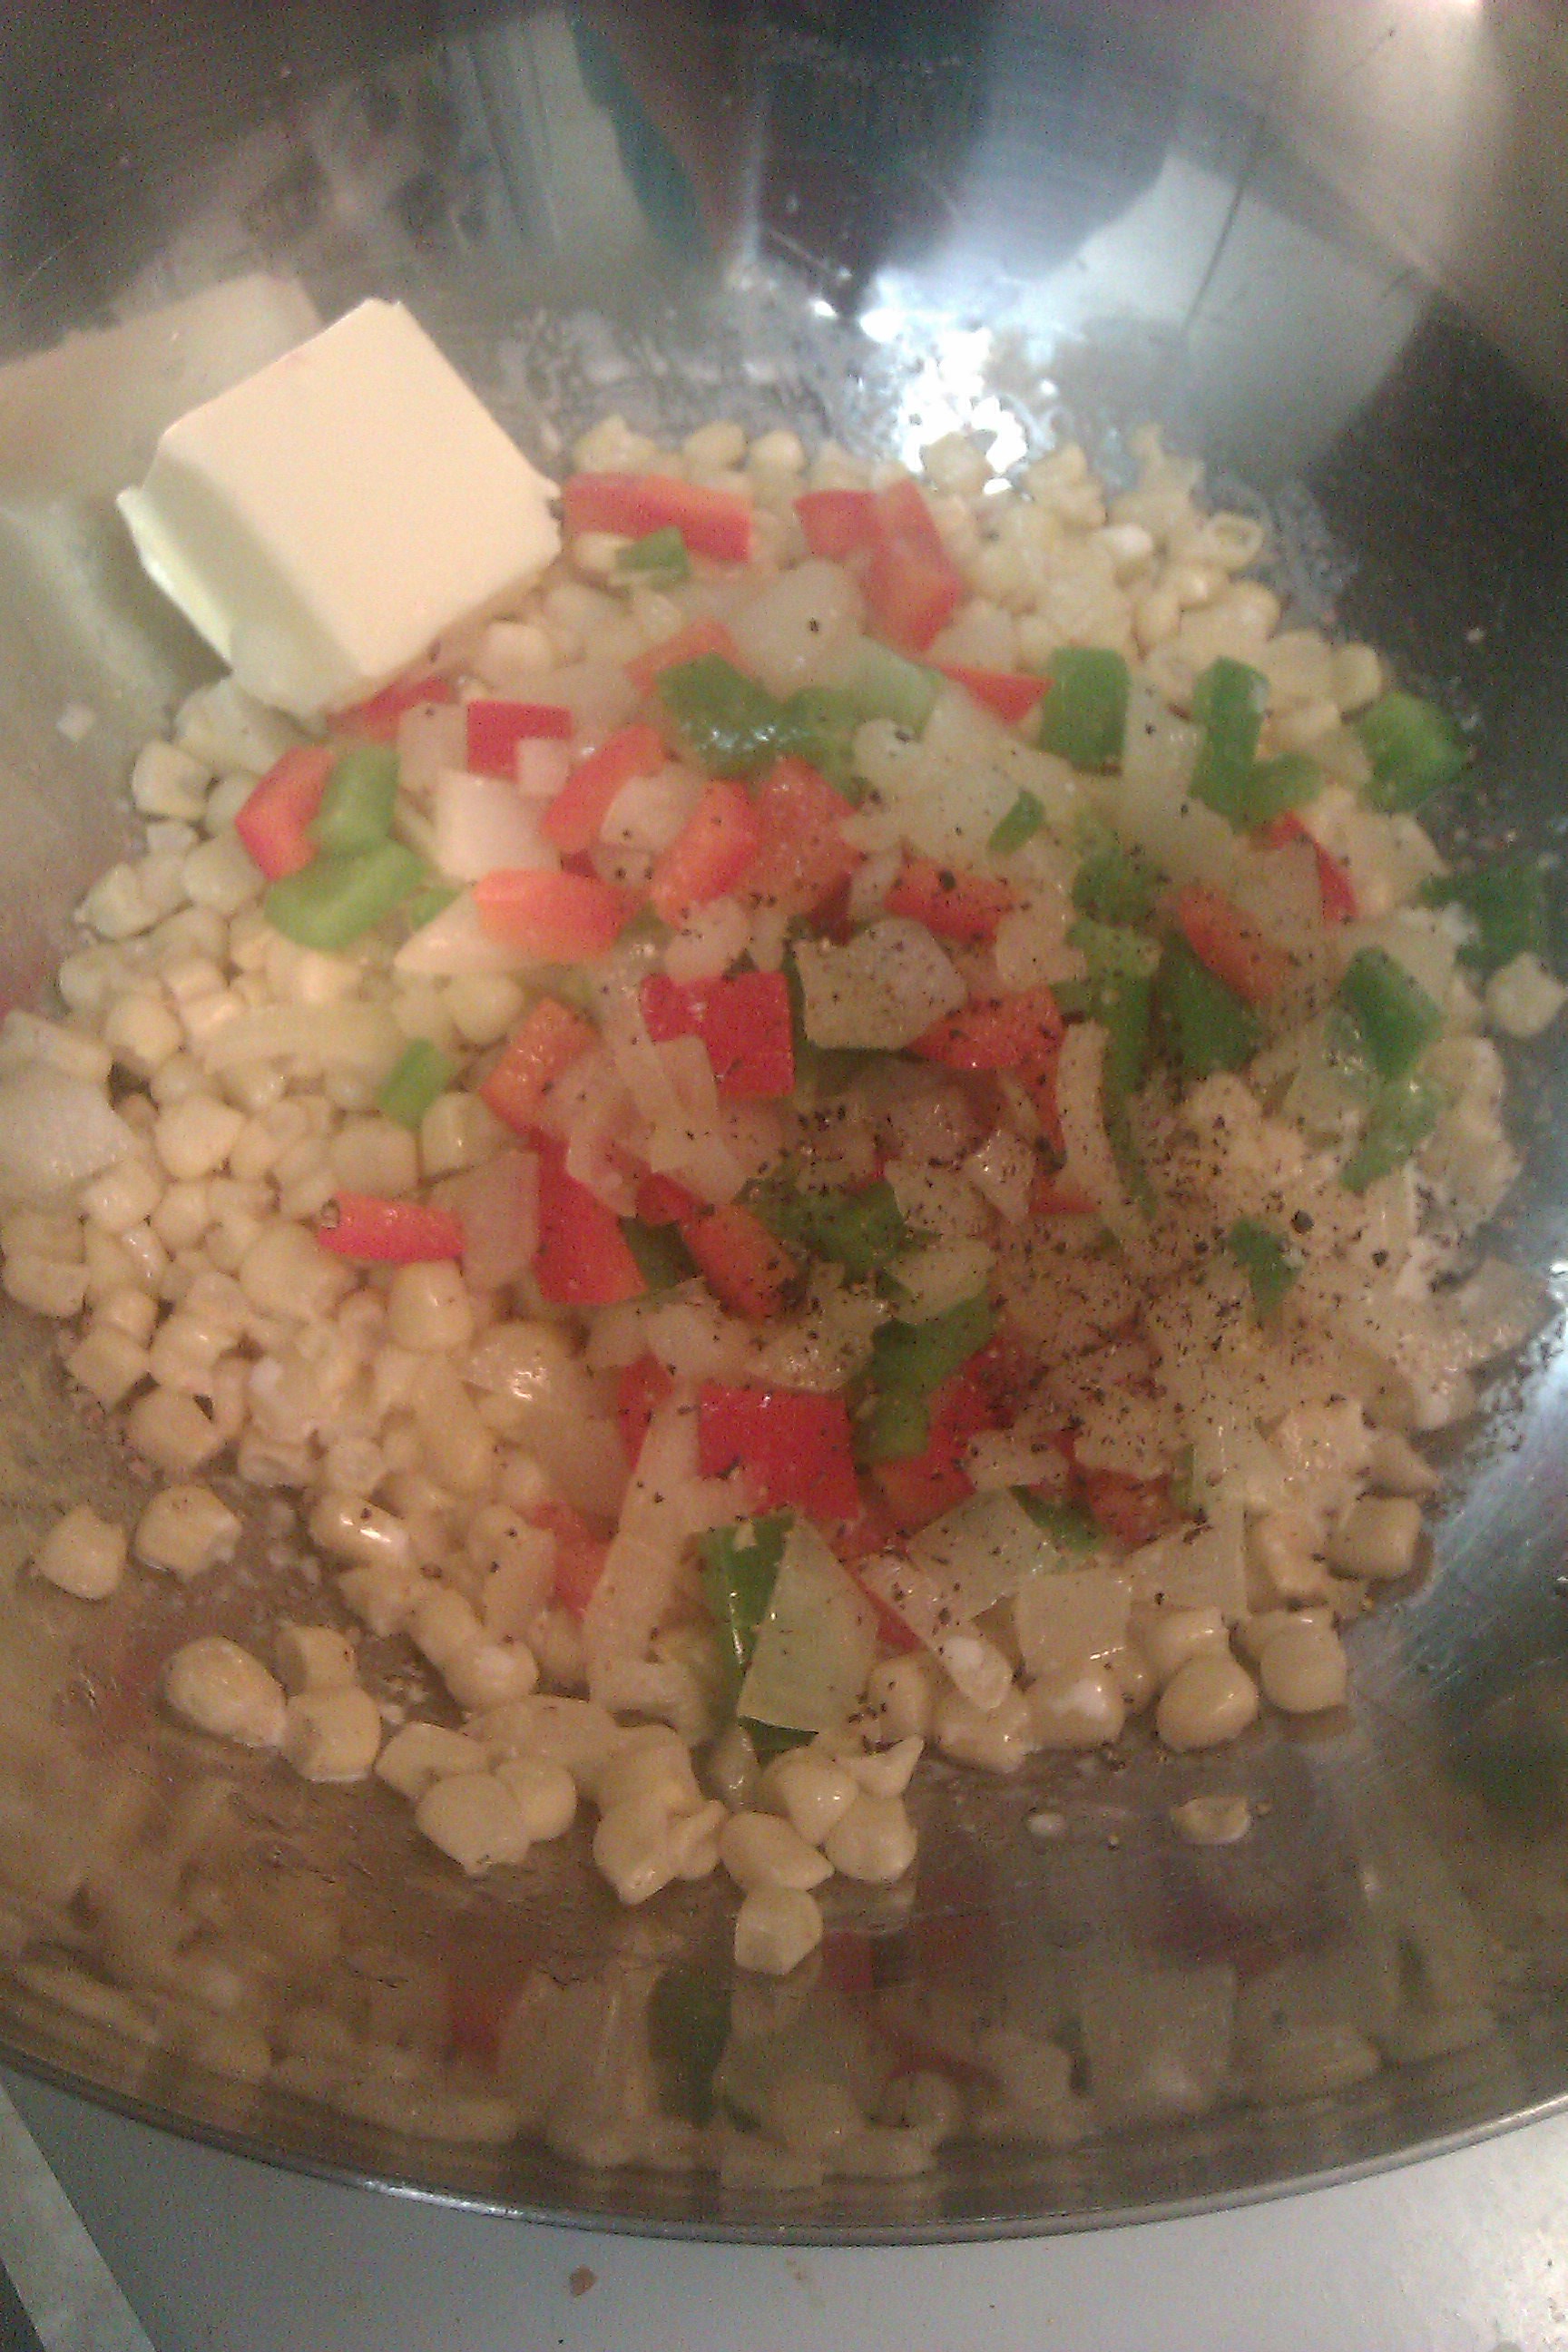
Let's start with the corn casserole. Make sure though to put the potatoes in the oven and marinade the meat before you get started. Details on these recipes are further along in the post. I got the idea for the corn casserole from Pioneer Women, here is her blog,Pioneer Woman Blog. I also have her books. She has FABULOUS recipes, all made with real food. She also is down to earth and quite funny. I took her corn casserole recipe and switched it up a bit. I honestly was a bit skeptical, "Corn casserole? Never head of that before! I guess we'll see how this turns out because I am not going to the store again!" but when I took that first bite, I was hooked! I think this will most certainly become a staple in our household. It's less of a casserole and more of a really delicious way to eat corn. Here's what you need:
  • Frozen corn
  • Diced onion, I used yellow
  • Diced bell peppers, I used red and green
  • Butter
  • Cream
  • Salt and Pepper
  • Mesquite seasoning
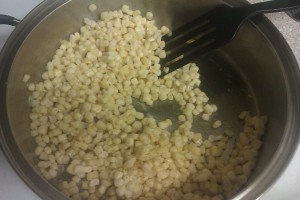
First, I sauteed the frozen corn with a bit of mesquite seasoning. I wanted a bit of a grilled flavor. My husband suggested next time we grill the peppers for that flavor. Sounds like a great idea we'll try in the future, but the mesquite seasoning worked well too. Don't fully cook the corn, then it will be mushy in the casserole, just saute it a bit to warm it up.IMAG1470 IMAG1469
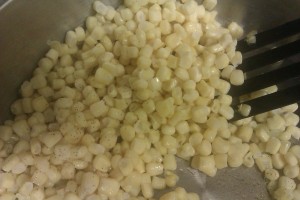
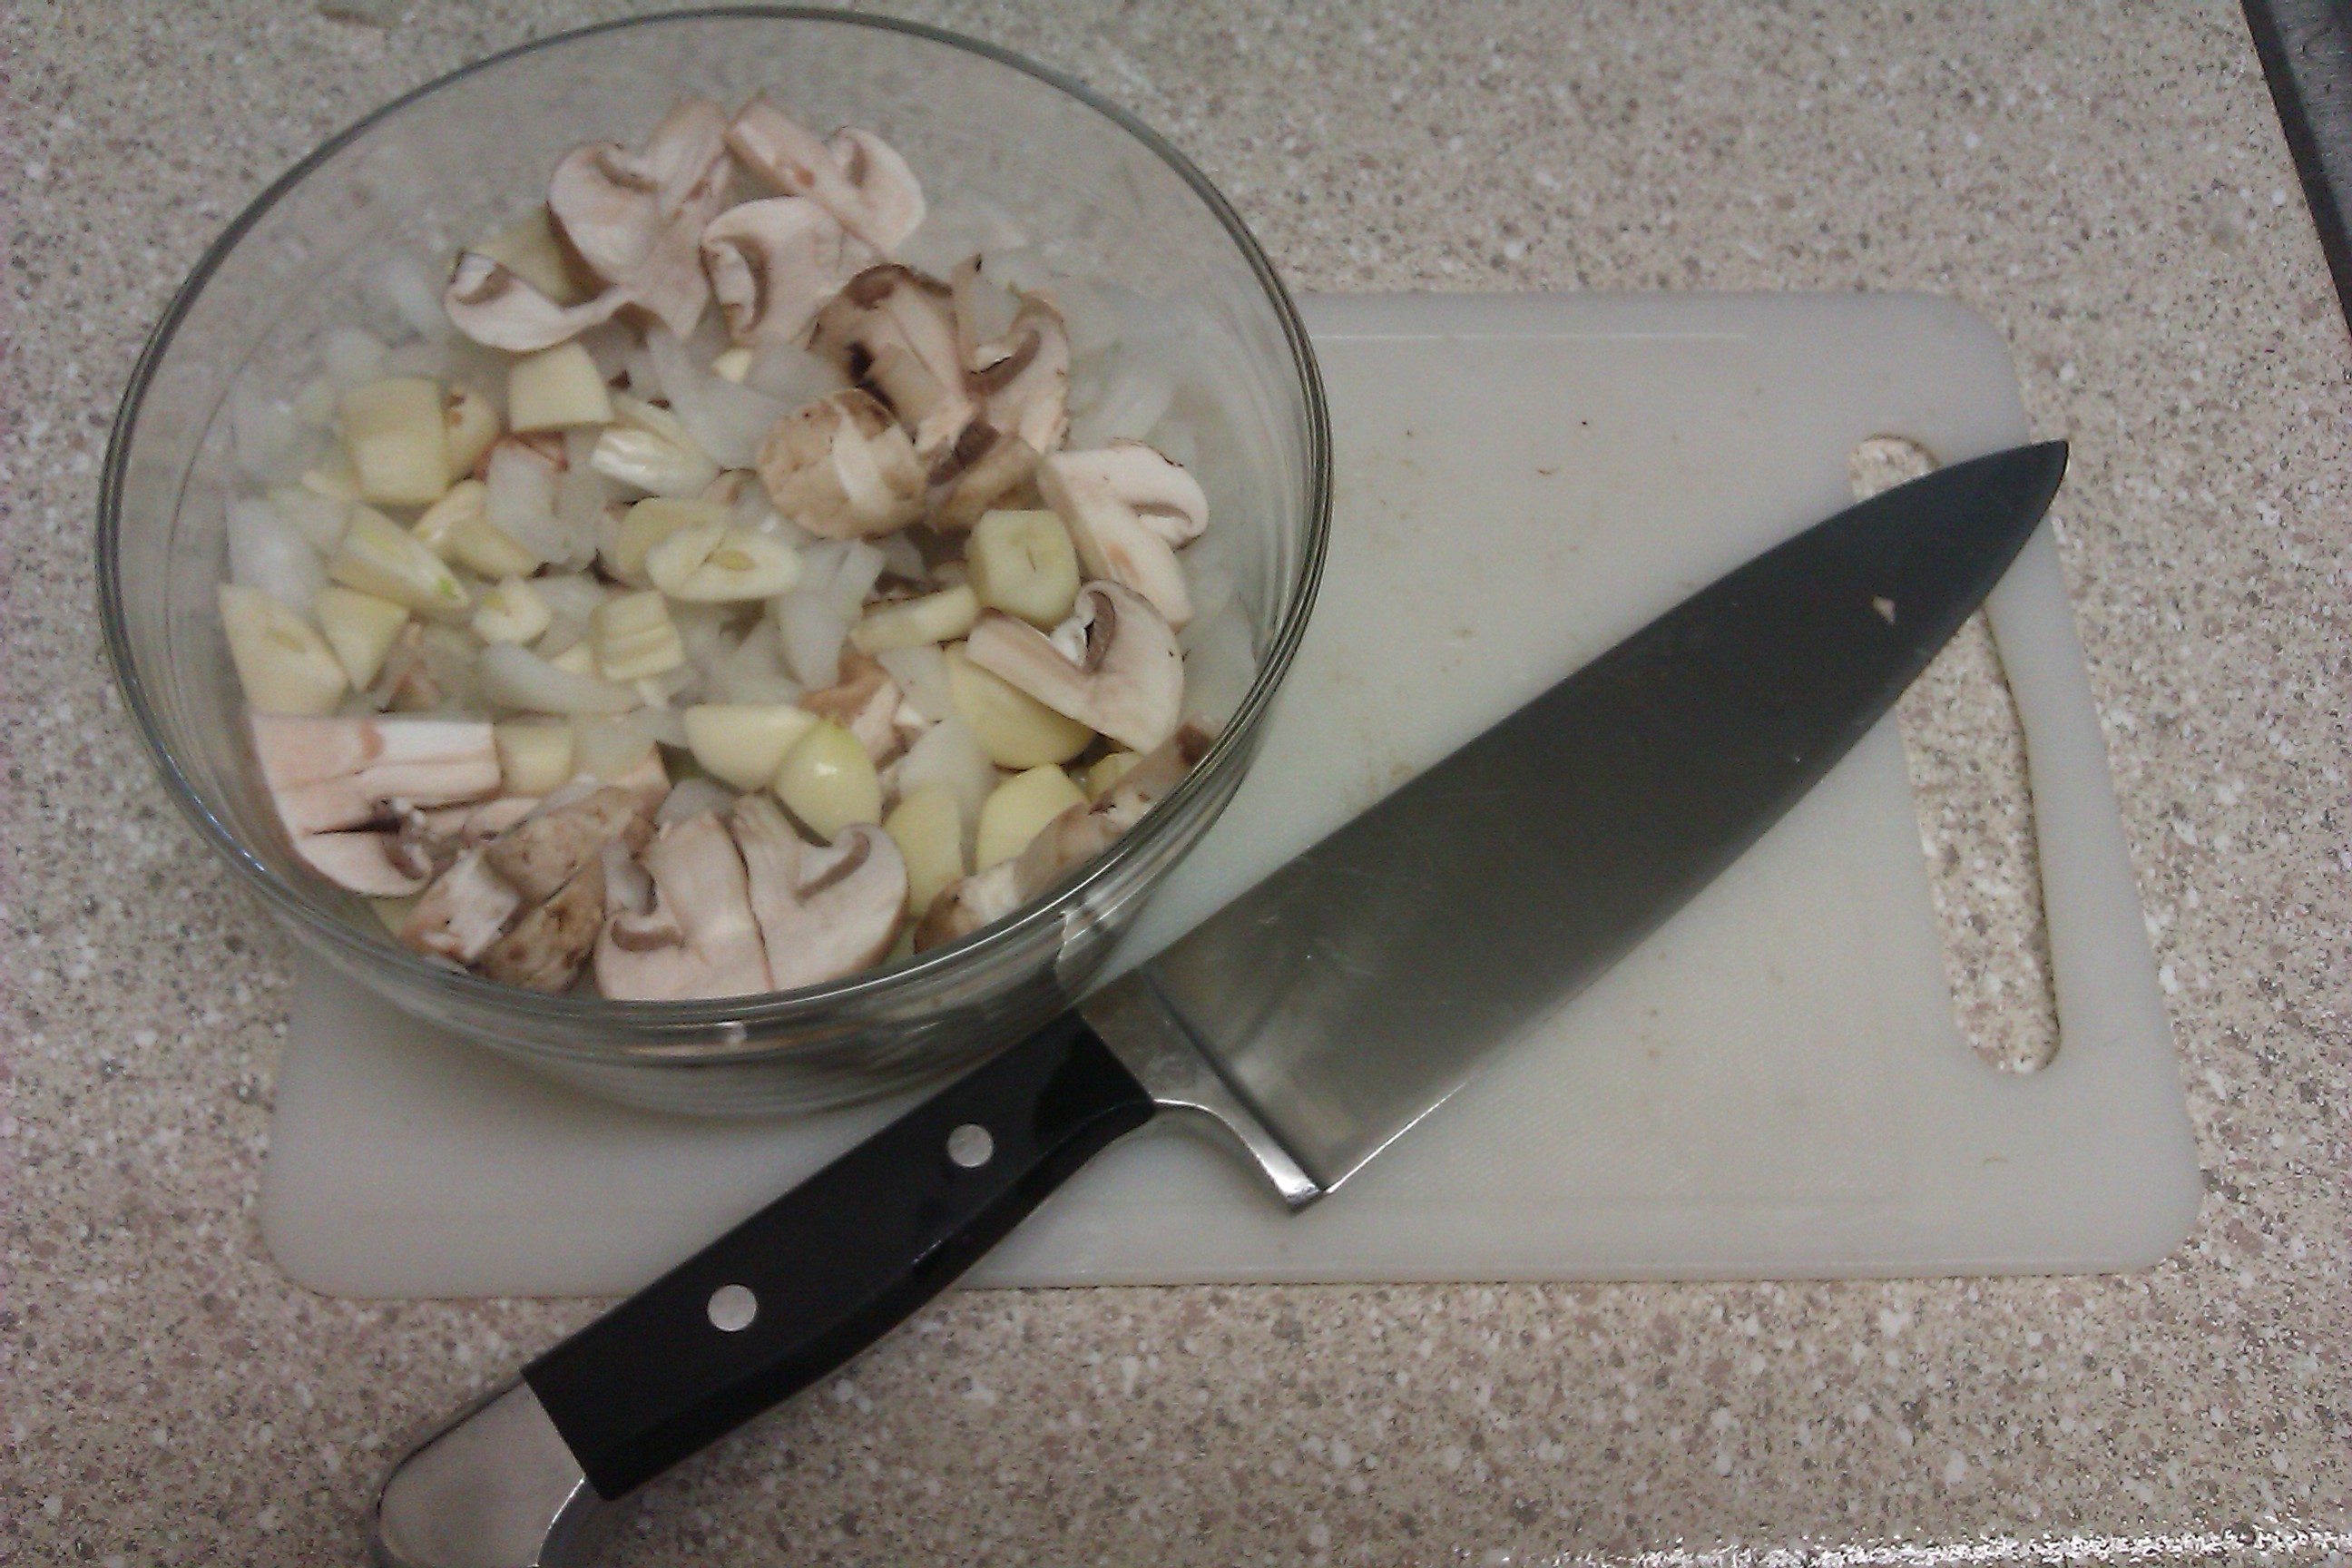
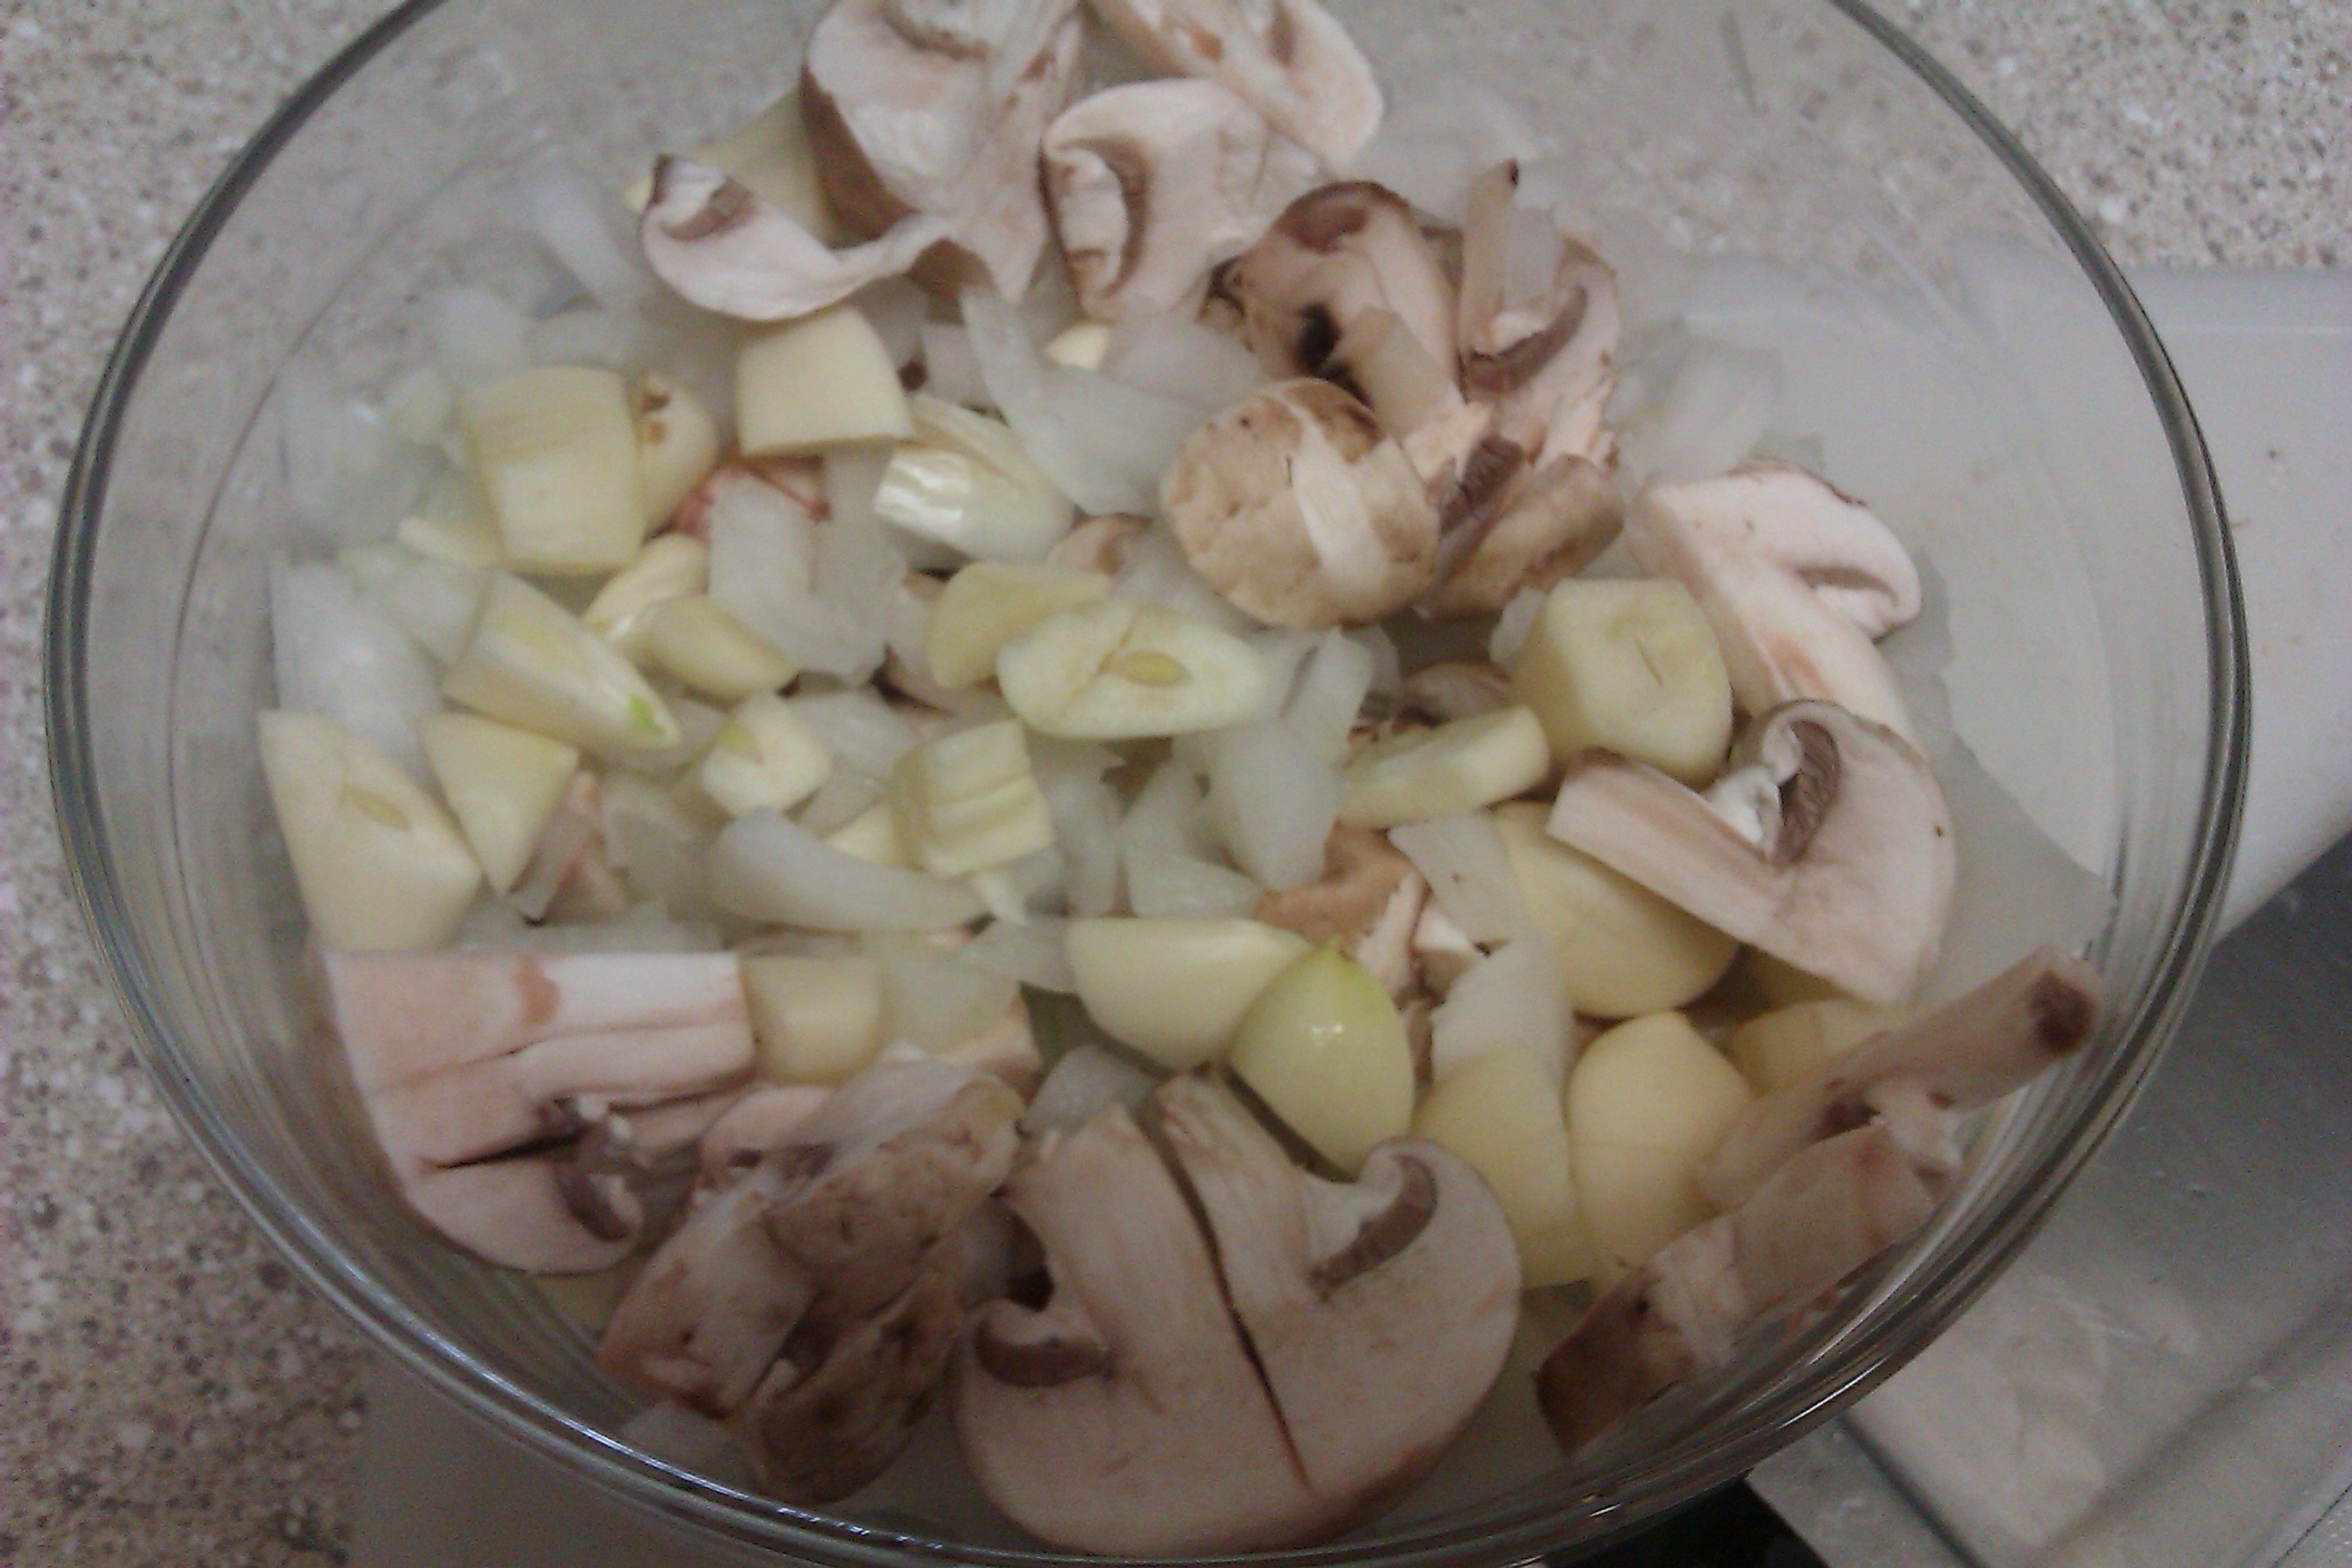
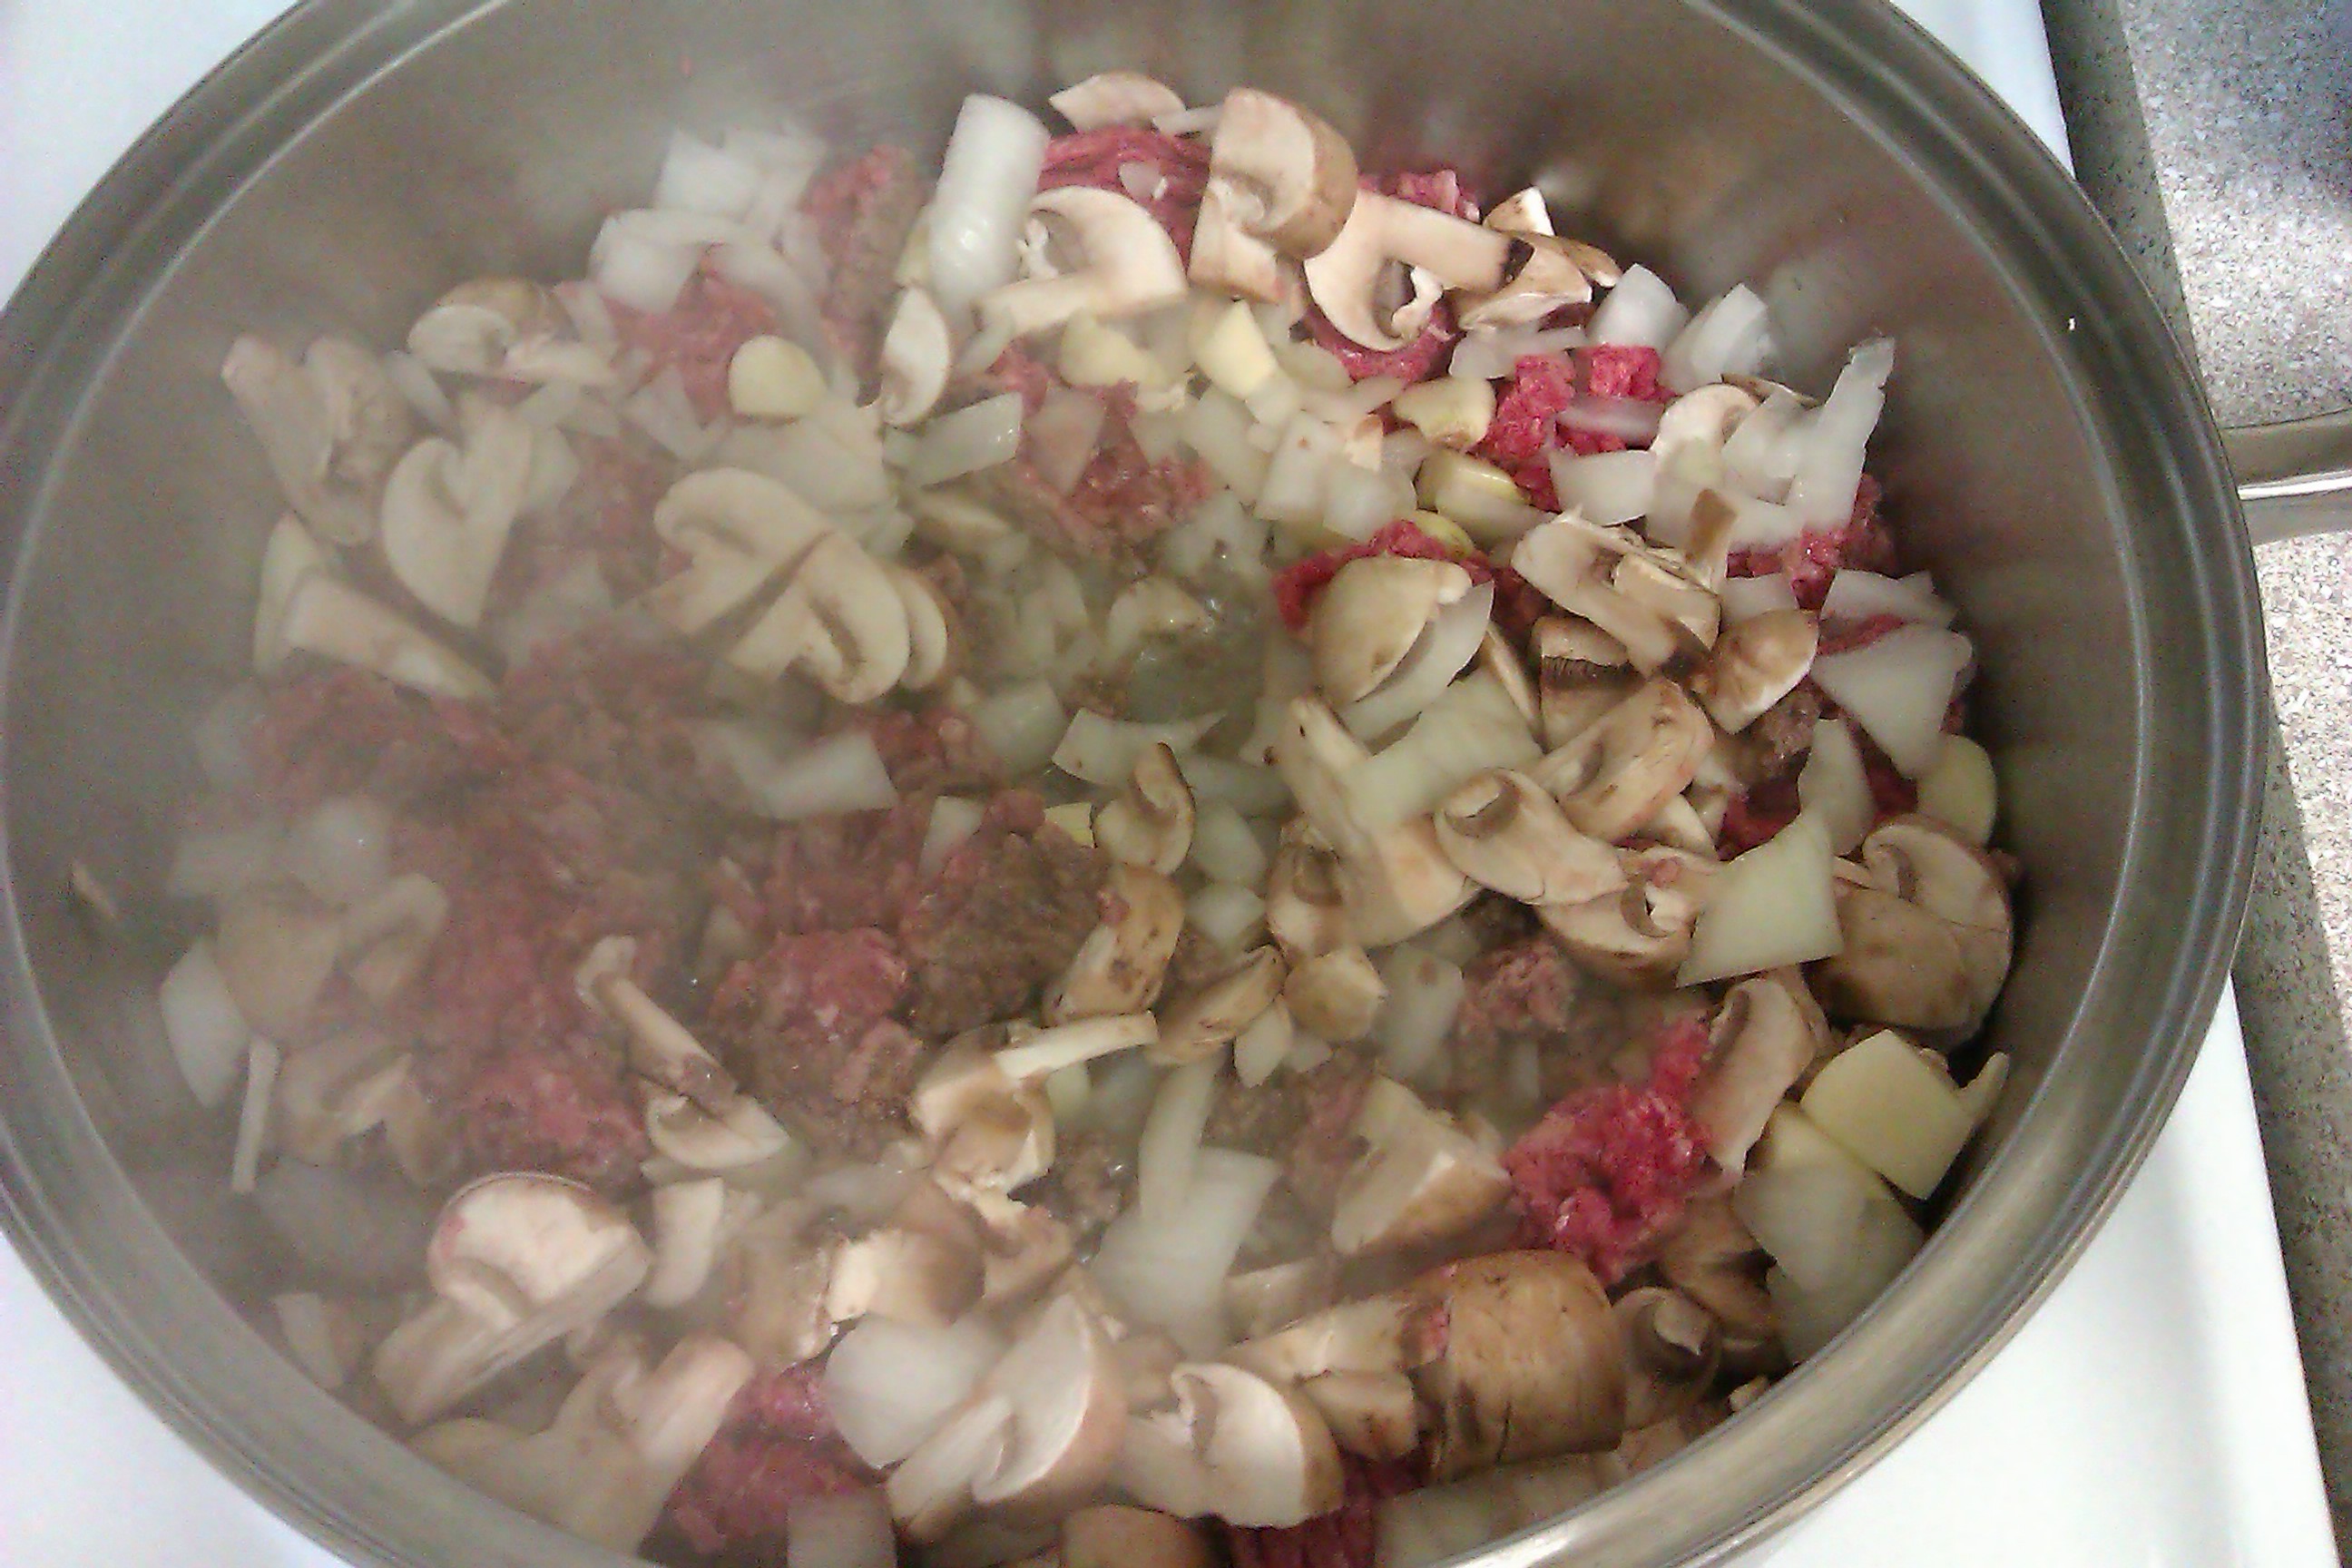
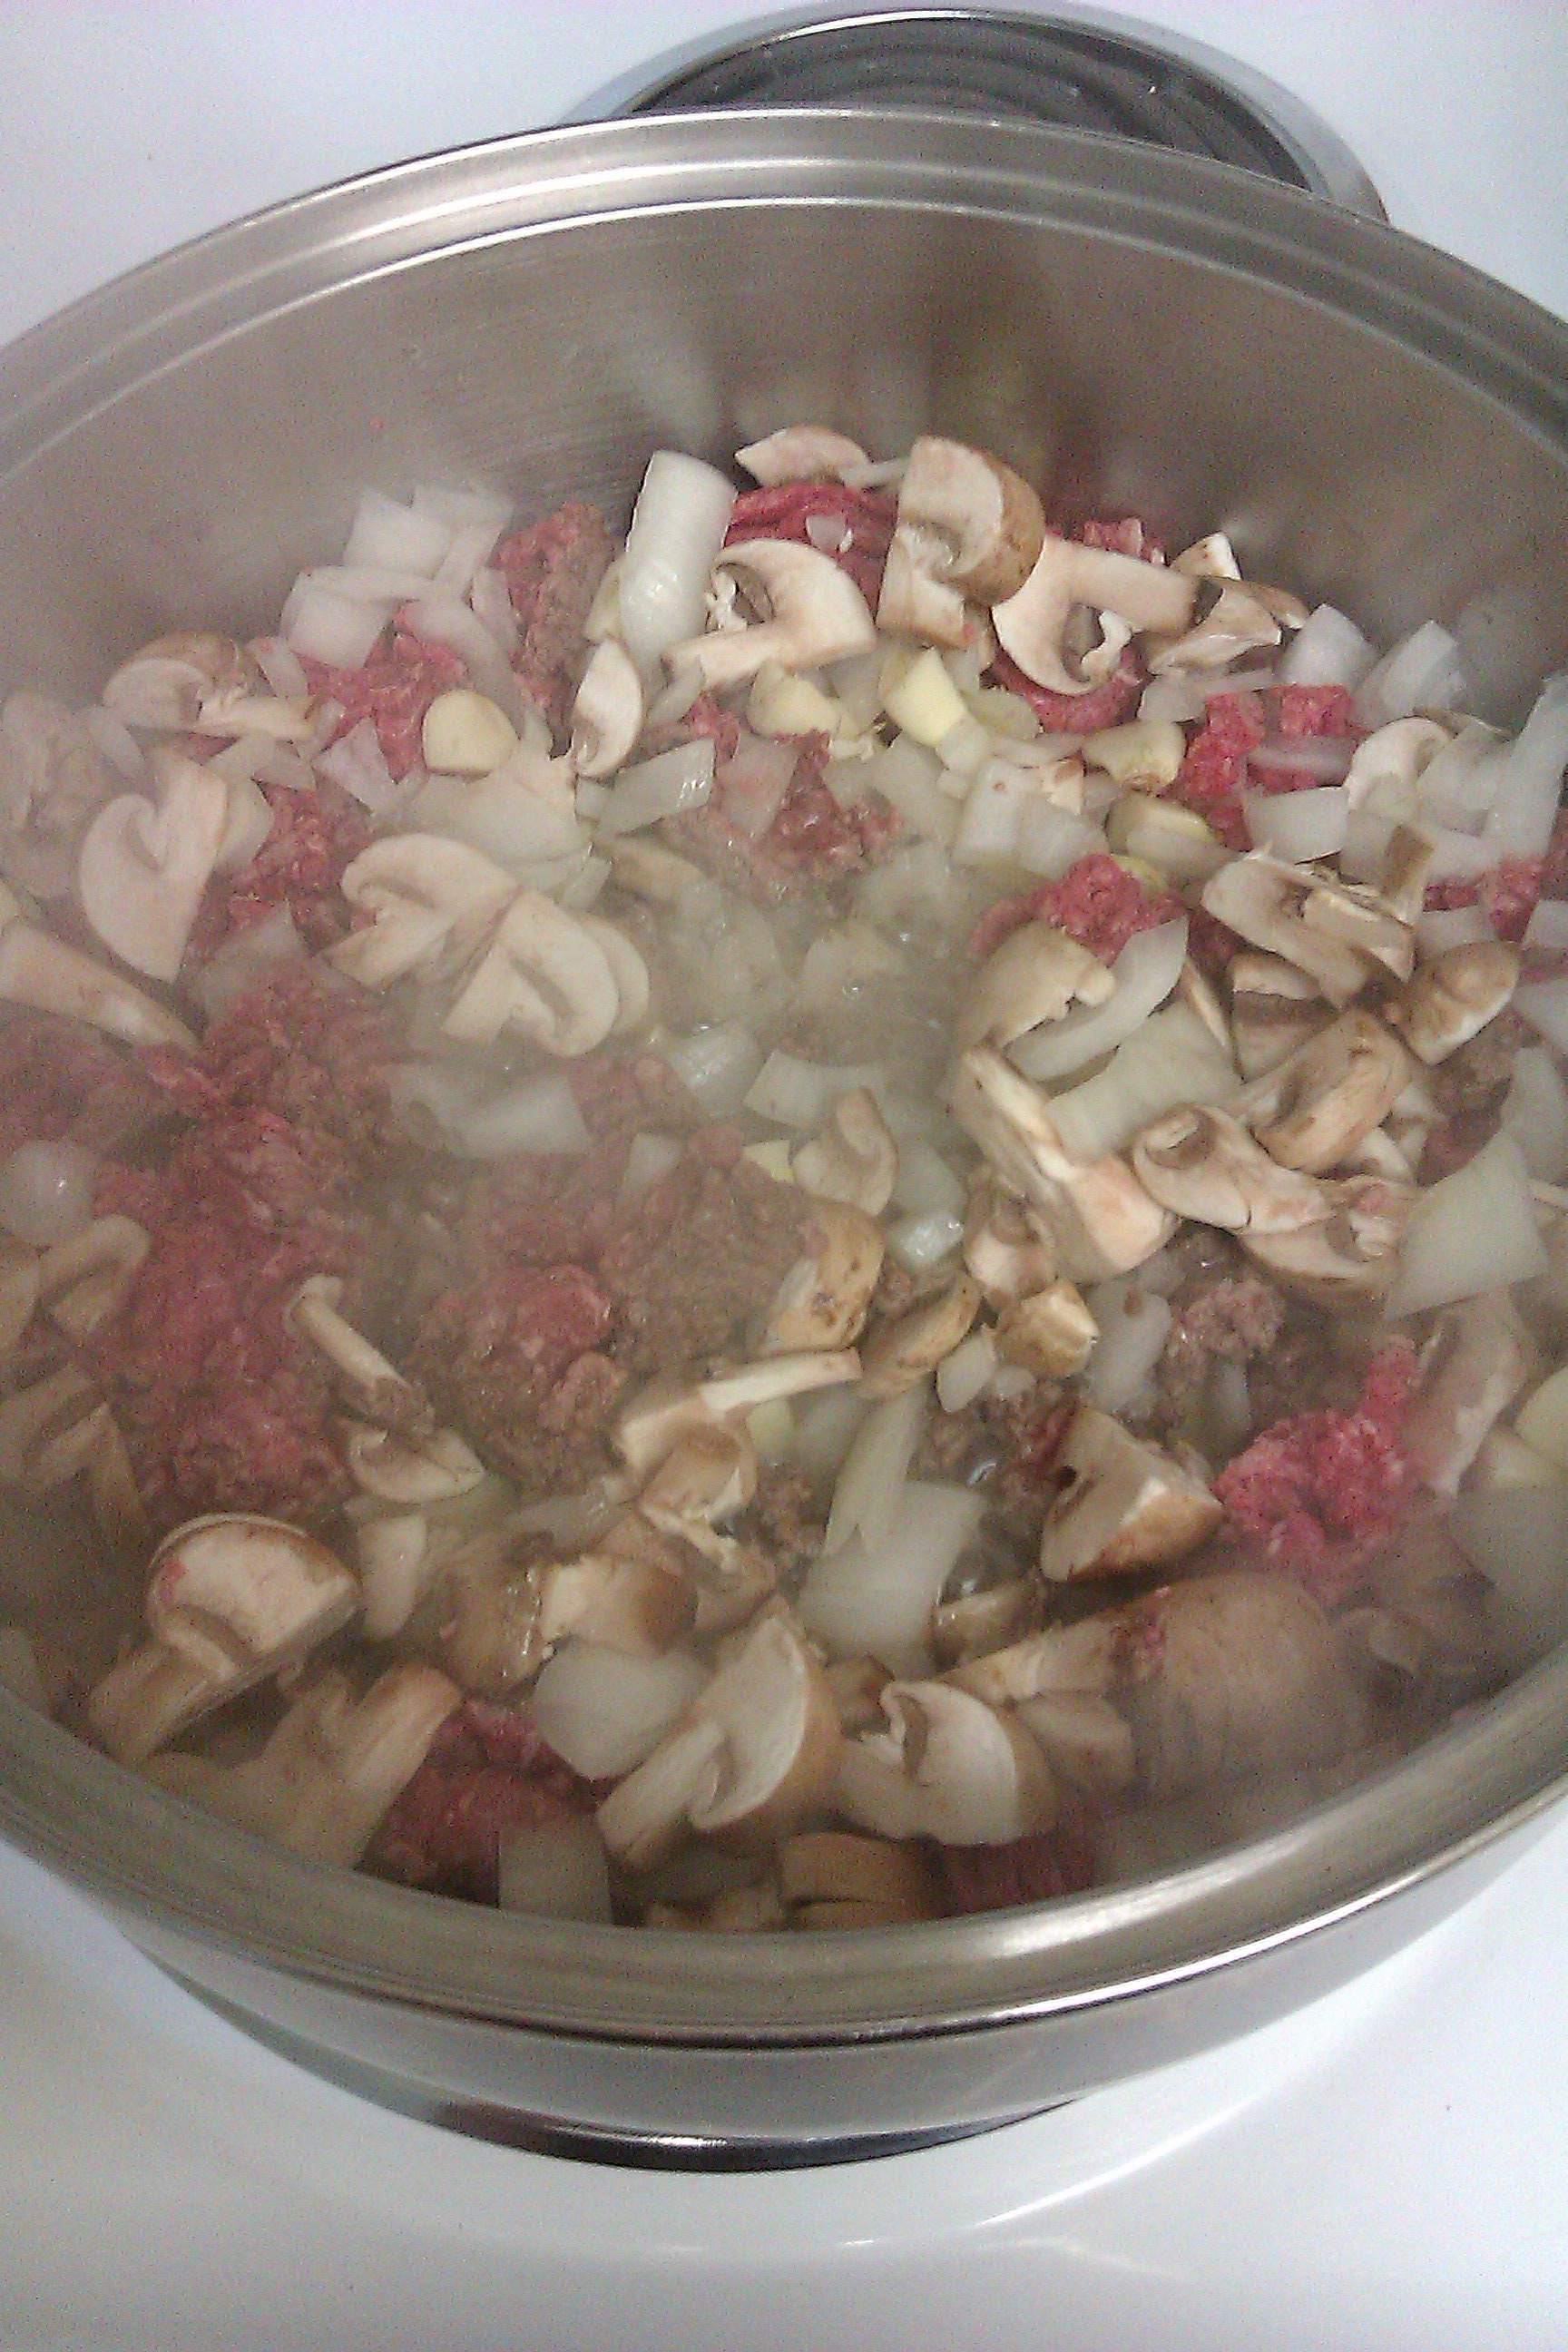
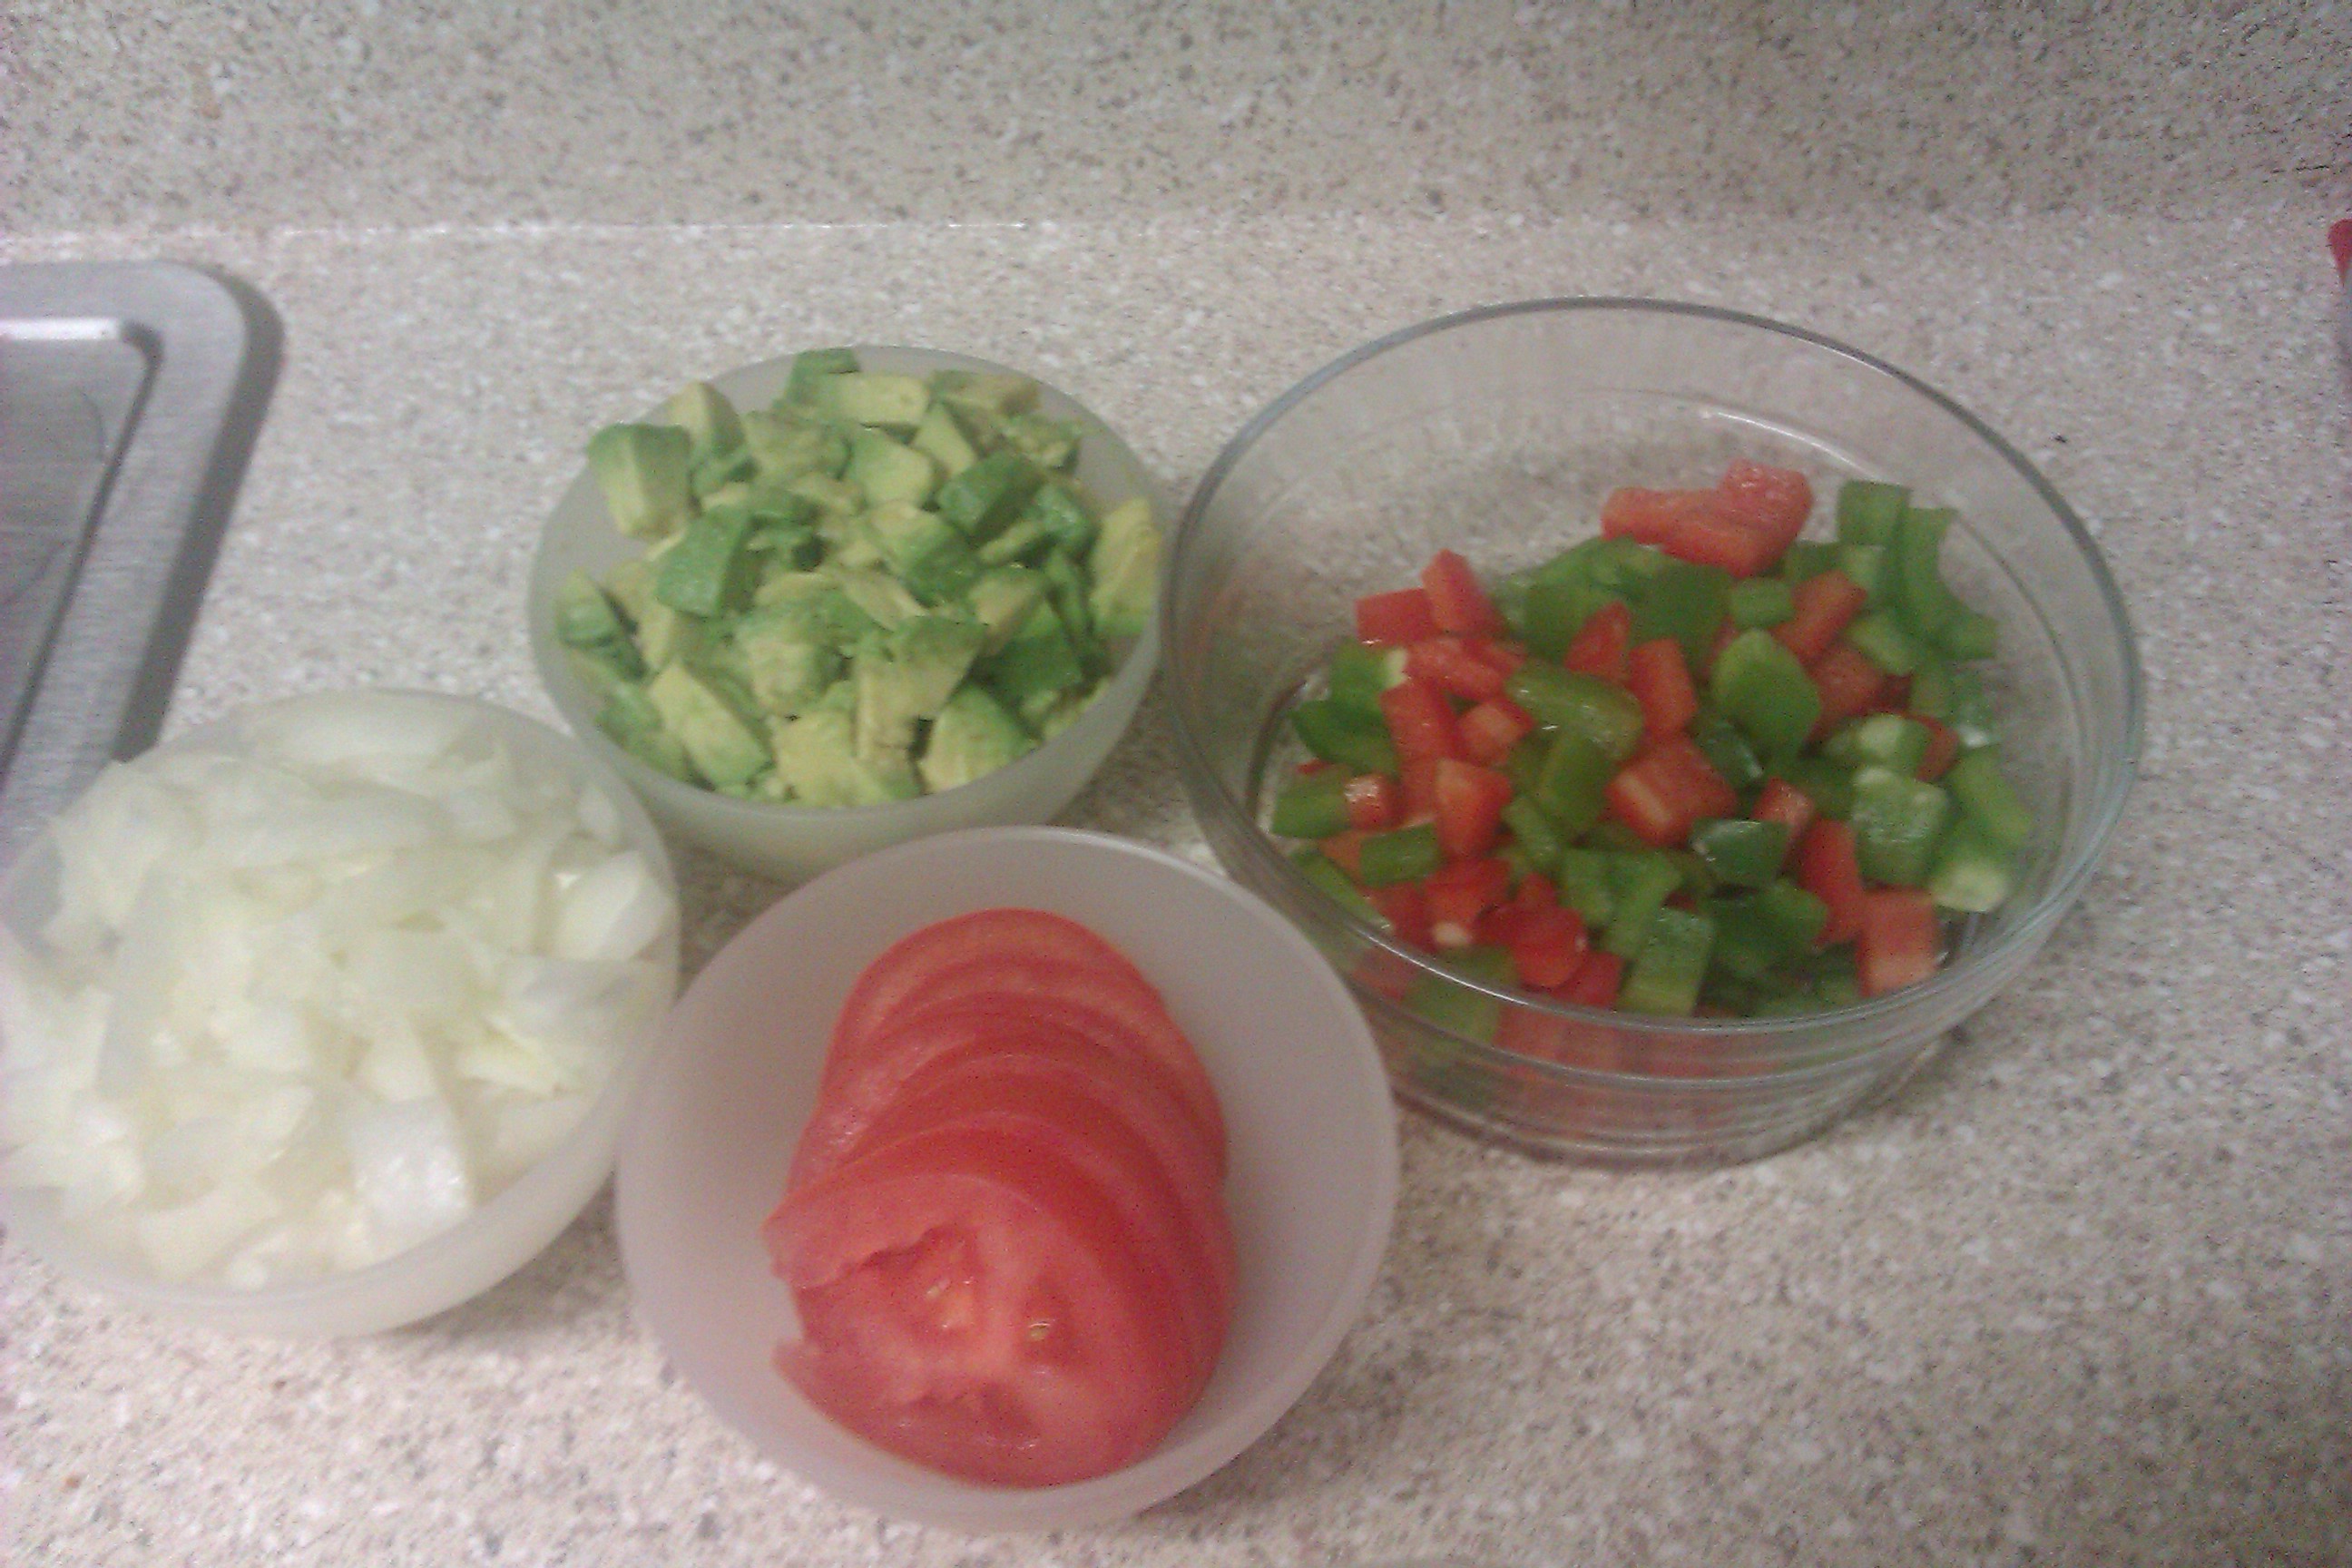
Next, saute the onions and peppers. Cooking onions is one of my favorite smells in the world! I try to work in onions to every meal just so that I can so I can smell that glorious smell! Don't overcook these either. We just want them to soften up a bit. I have no picture of this step, but look at these delicious veggies! The avocado and tomato are for the sliders later on :)
IMAG1471
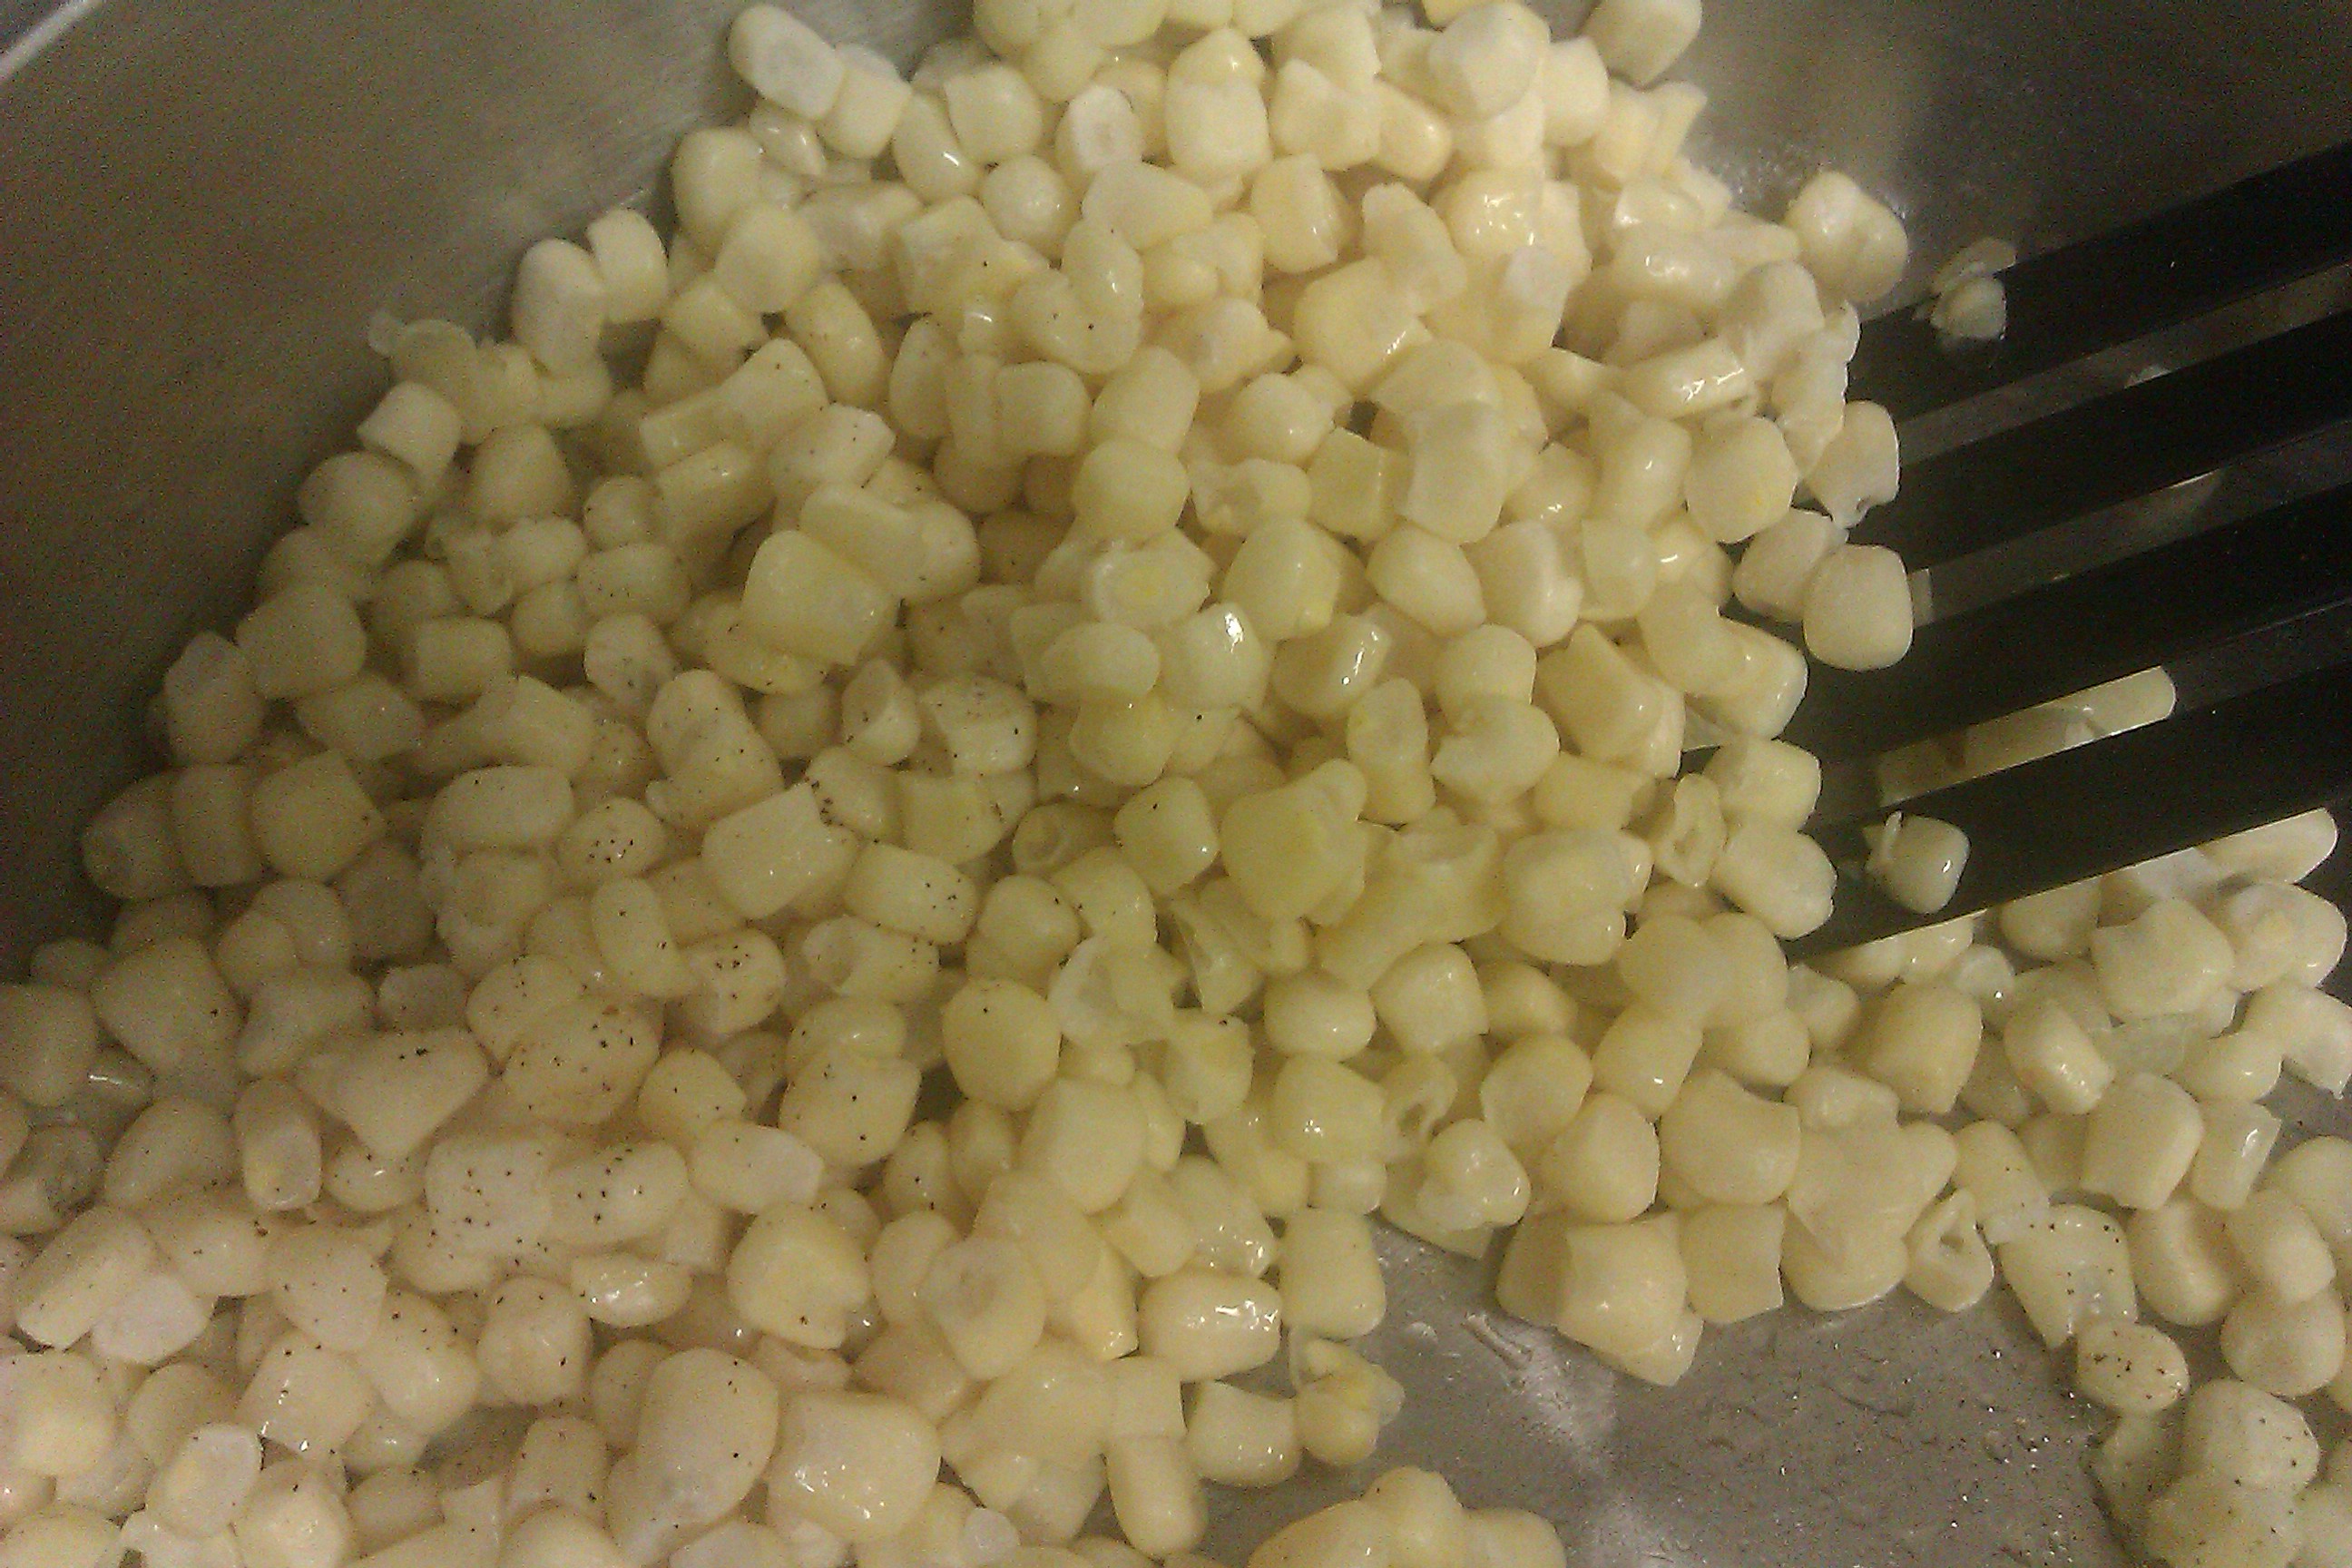
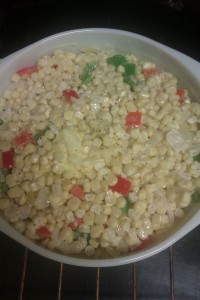
Now, mix up the corn, onions, and peppers in a big bowl. Add butter, I used half a stick for about 4 or 5 cups of frozen corn. (I am horrible at measuring exacts, I like to taste test instead). Also add cream or half and half. I added about 1/2 a cup, but would add a little less next time.Season with salt and pepper. Depending on if you use salted butter or not will dictate how much salt to use. You really want the creaminess of the sauce to be a bit salty for contrast. Remember, we didn't add salt while cooking any of the veggies so be a bit liberal, but you can always add more later if needed. Salting a recipe is definitely a talent and varies based on palette. Then put the whole concoction into a casserole dish. Bake at 375 for 20-25 minutes. I put it on broil for the last 5,  I love doing this with a lot  of recipes, but as I said before, I think I added a little too much cream and really wanted some of the liquid to cook off. It comes out warm, creamy, colorful, salty, and a great side dish!                                                    IMAG1473IMAG1474
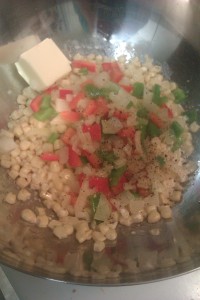
Now onto the wedges which you can cook while the casserole is baking. You should have been baking the potatoes for about an hour while doing all this corn prep. Scrub them clean and then salt them heavily and bake until done. 350 for 45 minutes to an hour depending on your oven and size of the potatoes. Take out and let cool. You could microwave, but then the skin won't be nearly as crispy.
IMAG1468
After the potatoes have cooled a bit, cut them into half and then half again, making wedge shapes. They'll be a bit starchy and mushy. Break them up a bit. Then season with salt, pepper, and garlic powder.    
                      IMAG1475
Lastly, fry them in about 2/3 inch of oil. The sound of those little guys frying right up is enticing ! Make sure you flip them so that all thee sides touch the bottom of the pan at some point. But don't flip too much! This will cause the wedges to simply fall apart. Two turns is all you need so that each side gets one turn.
IMAG1477 IMAG1476
Remove them when they are golden brown and place of a plate of paper towels to soak up the extra grease. Salt immediately. They will be flavorful, crispy on the outside, and fluffy on the inside.                                                    IMAG1480
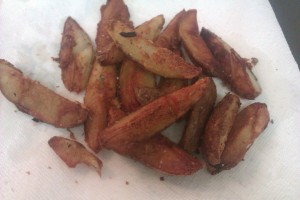
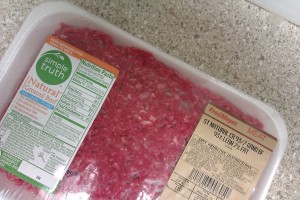
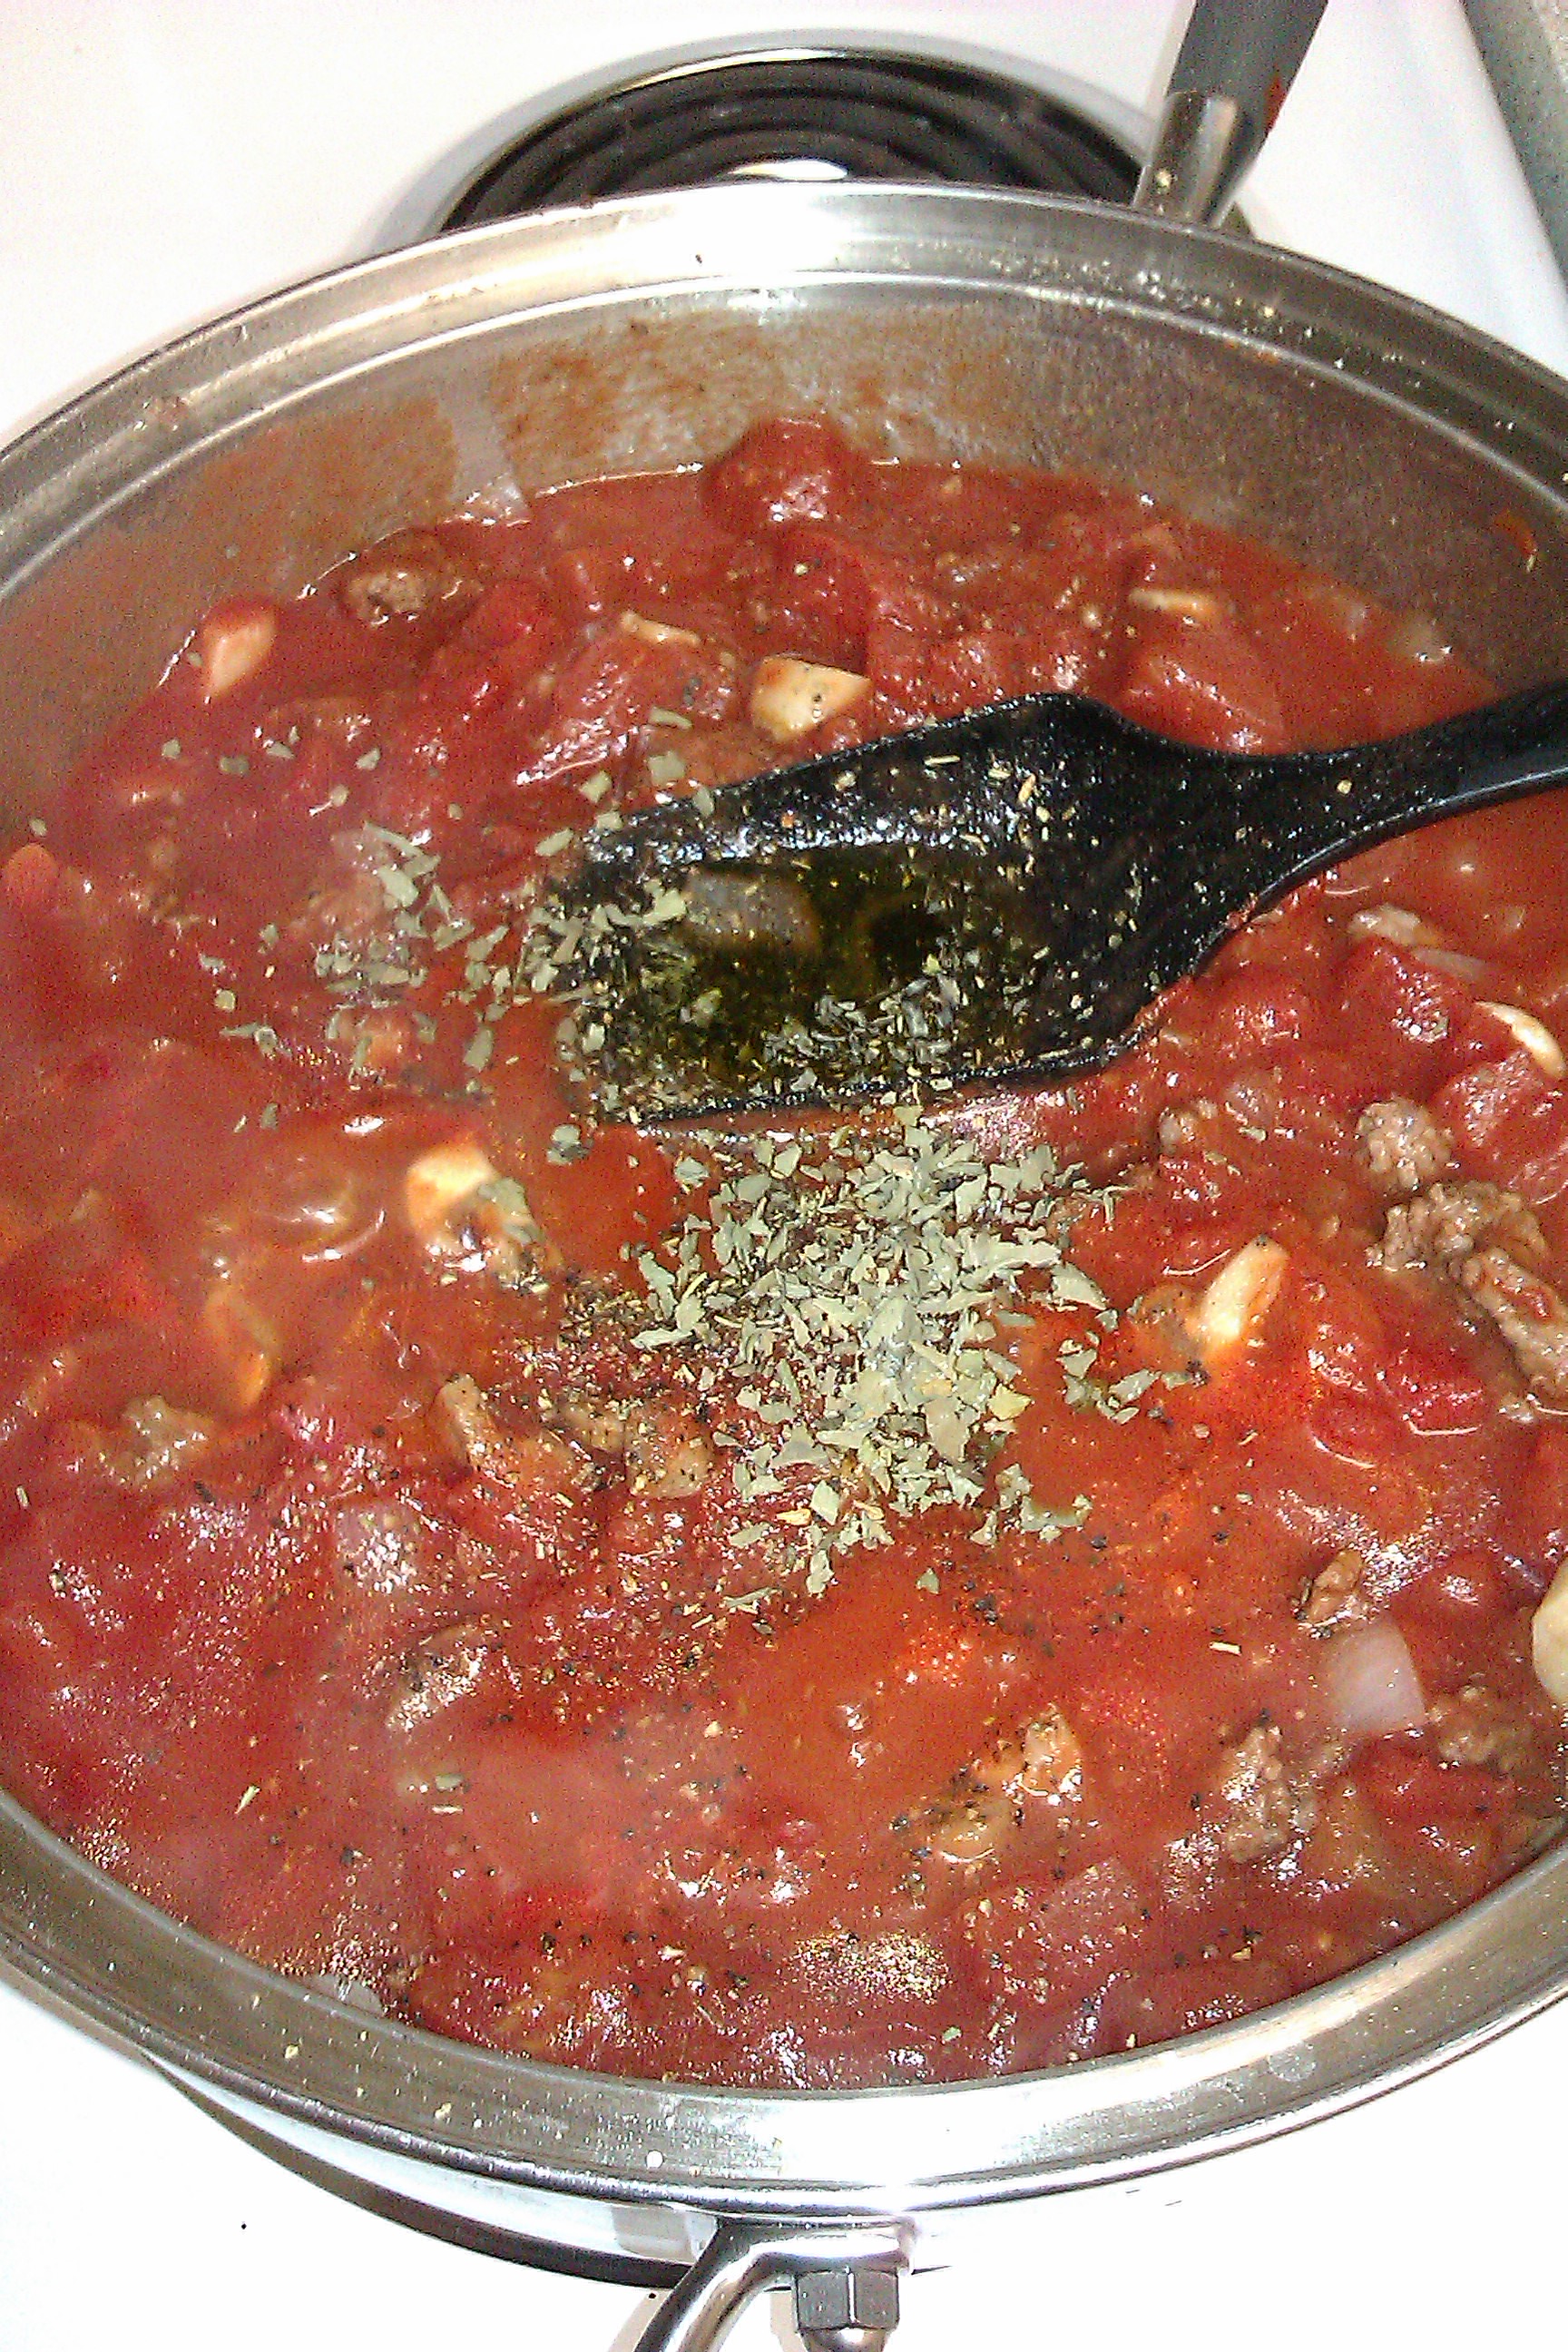
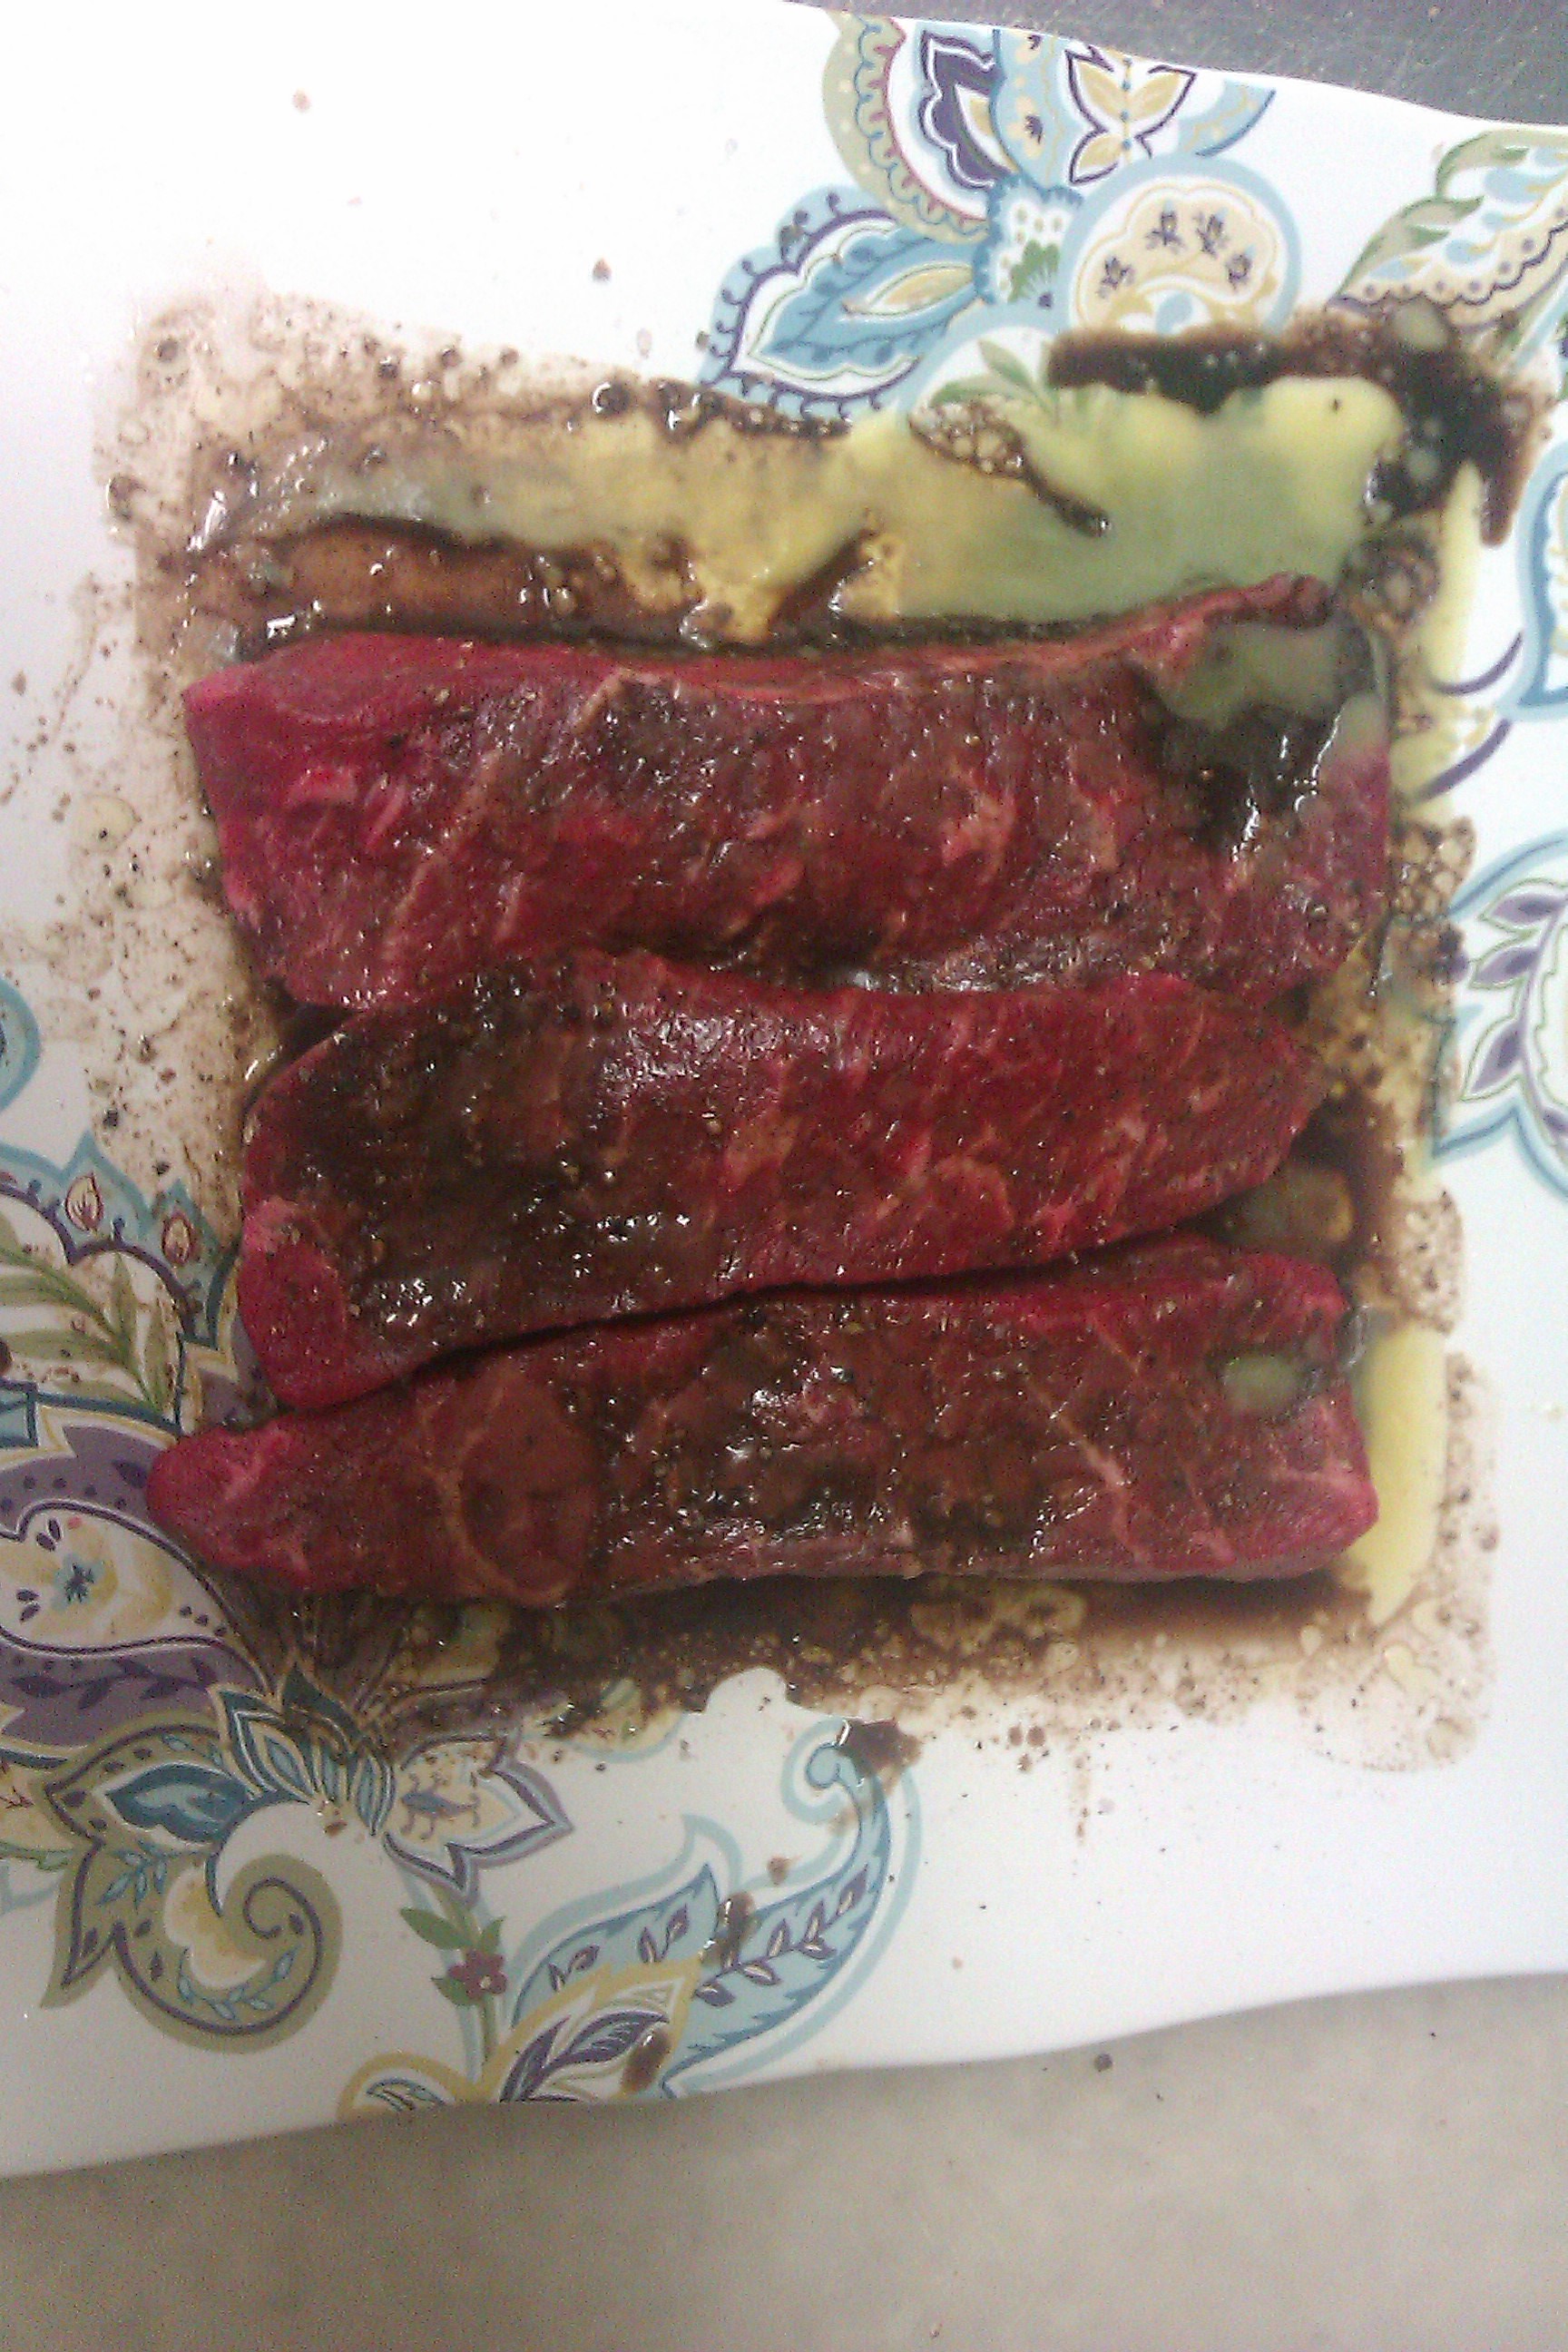
Finally the entree which ironically is the easiest part. I marinaded the steak with olive oil, salt, pepper, garlic powder, Worcestershire sauce, and balsamic vinegar.
IMAG1478
When you're ready to cook, slice into small pieces and then throw into a frying pan with some onions. I told you I love them! I like to make the frying pan really hot before I put the meat in so that it sears, but you have to be careful your pan is a bit oiled if you do this so the meat doesn't stick.
IMAG1479
Afterwards, serve on a mini-bun (we used pretzel buns) with avocado, tomato, and cheese. We only had cheddar, but I think I'd prefer blue cheese. I made a mayonnaise-onion sauce to smear on the bun. Sorry, I didn't take a picture of that but I just took the drippings and onions from cooking the steak and mixed it with mayo! I used it on the sliders and to dip my Potato Wedges into. Again, look at this delicious meal. Made with all real food and not too unhealthy :) Yummy!
IMAG1481

Tuesday, July 29, 2014

Tasty Tuesday: Chocolate Chip, Walnut Banana Bread

I'm not a huge fan of bananas. I like a banana for about a day. The first day it's ripe and then I think it tastes like mush. The texture just grosses me out!! However, we get a lot of bananas in the weekly produce basket we get from a local co-op (we don't get to pick what's in the basket, we get what we get. I actually love this because the price is AMAZING and the variety of produce encourages me to try new recipes) Anyhoo, long story short, we end up with lots of overly ripe bananas and while I'm not a huge fan of bananas, I ADORE banana bread. It's such a perfect breakfast with coffee. If I'm feeling fancy, I add walnuts and chocolate chips. Chocolate-banana is one of my favorite flavors. When I was a kid, my mom use to take me to this little 50's style diner and we'd always get chocolate-banana milkshakes, yum! This banana bread recipe uses sour cream which is what I think makes it yummier than the typical recipe. I thought it was weird too when I first read about it, but once I tried it I was hooked and can't imagine making banana bread any other way. 


 Here are the ingredients, pretty basic stuff
  • 1 1/2 sticks Butter
  • 1-1/2 cup Sugar
  • 3 whole Eggs
  • 4 Mashed, REALLY Ripe Bananas
  • 4 cups of Flour (I use 2 cups of Whole Wheat Pastry Flour and 2 cups of plain ole' white flour)
  • 1 teaspoon Baking Soda
  • 1-1/2 teaspoon Baking Powder
  • 1-1/2 cup Sour Cream
  • Bag of Chocolate Chips
  • 1 cup Walnuts

First, set the oven to 350 and butter/flour the pan so the bread doesn't stick. This recipe makes two batches of the bread so prepare two pans if you have them.


Then cream together the butter and sugar. I like to use my hands. You can use a fancy mixer if you feel so inclined. Cream is just a fancy word for mix, in case you were wondering. 


Then mix in the egg. You can either add one egg at a time or do like I do!! Break the eggs into separate parts of the pan. This makes sure the egg gets evenly distributed.  


Now mix in your bananas. I put my bananas in the fridge after they get ripe so the peel turns black. This is good though!! I used about 4 bananas. Here they are, all nice and overripe! You must use overripe bananas to make bread. Why? I have no idea, just trust me.


Now mix the dry ingredients together in another bowl. If you have not tried this flour, you must!! I love it for making any sort of sweet pastry, cookie, or bread. It's all natural, whole wheat pastry flour from Bob's Red Mill, but when you eat the delicious things, you really can't tell it's whole wheat and it adds a nice texture and sweetness. I am obsessed with this flour!


Now, slowly add equal parts of the dry mixture and the sour cream to the liquid, making sure it all gets evenly mixed. 

Lastly, fold in the chocolate chips and walnuts. So pretty!


Fill up bake pans halfway. The first time I made this, I filled the pan up all the way. Big mistake!! Not only did the bread take almost TWO hours to bake (sheesh), it was so huge and not really good for slices. Lesson learned :)

Bake for about an hour (my oven takes an hour and 5 minutes) or until toothpick comes out clean. Enjoy the bread warm with butter, delicious!! 


Tuesday, July 22, 2014

Tasty Tuesday: Easy, Delicious, Real Food Spaghetti Sauce

I love to teach. I love to kayak and hike, but I also LOVE cooking and eating yummy, REAL food. If you haven't checked out 100 Days of Real Food's blog yet, you just simply must. It started me on the path of enjoying cooking and homemade, REAL food. To honor this love in my life and because, heck, all people, even teachers, have got to eat right?! I am starting a weekly post called Tasty Tuesday!! I would have preferred something with the word yummy, but there are no days of the week that start with y, sigh. For my first Tasty Tuesday post, I simply must post about homemade spaghetti sauce because it was the first REAL thing I learned to make besides tacos and cereal :) I love homemade spaghetti. In my husband and my early years as 1 bedroom apartment inhabitors who lacked money, we ate spaghetti at least twice a week. The kind of spaghetti made with 99 cent pasta and jarred sauce. I grew tired of spaghetti because of these crummy meals and stopped eating spaghetti for a long time. One Sunday though I got a craving for spaghetti and wanted to make my own sauce. It could not have been easier, tasted better, or made my house smell better. It made spaghetti a much more sensory rich experience than a jarred sauce can ever provide and made me feel much healthier and connected to the Earth. Plus it is more cost efficient (you get loads more sauce for the same price as one jar). No high fructose corn syrup, no preservatives, no food coloring, just real, pure food. Now we only eat homemade sauce and it is one of my favorite indulgences that is quick, easy, inexpensive, and savory. Bonus: We used leftover sauce as dipping sauce for mozzarella sticks and it was delish!
 Ingredients (organic preferred but not required for all ingredients):
 * one 28 ounce can of diced tomatoes
 * one can of tomato sauce
 * one can of tomato paste
 * 1 pound of ground beef
 * one yellow onion
 * a handful of mushrooms
 * garlic
 * olive oil
 * salt
 * pepper
 * basil
 * oregano
 * sugar
 * oregano
 * thyme

 Directions: 1) Chop onion, garlic, and mushrooms. I dice the garlic cloves in half and quarter the mushrooms. You could also add any other veggies you have on hand such as bell peppers, carrots, or squash.
Jenn Cell August 1st 2013 033
Jenn Cell August 1st 2013 034
Jenn Cell August 1st 2013 035
 2) Saute the mushrooms, onion, garlic, and ground beef in olive oil. It smells delicious! I don't add any seasoning at this point. Cook until the meat is still slightly pink (almost done) and the mushrooms and onions are tender but not overcooked.
Jenn Cell August 1st 2013 037
Jenn Cell August 1st 2013 038
Jenn Cell August 1st 2013 039

 3) Drain and put back in pan. Then add the tomato sauce, diced tomatoes, and tomato paste. I use this great brand, Simple Organic, that Fred Meyer has. The products always have comparable prices and are organic!
Jenn Cell August 1st 2013 042Jenn Cell August 1st 2013 043

 4) Add seasoning. I didn't put exact measurements because I always eyeball and taste test spices and everyone's tastes are different. I would aim for 1/2 to 1 teaspoon each of salt, pepper, basil, oregano, and thyme. I also put in a pinch or two of sugar to cut down on the tomatoes acidity and then generously salt and pepper. If you are brand new to cooking, start with 1/2 teaspoon of everything and then taste test. Adjust accordingly to what your tongue tells you it likes :)
 5) Turn heat to low, cover with a lid, and simmer for an hour. Make sure the sauce is barely bubbling and doesn't get too hot. Check it once in a while and move the lid over a bit allowing steam to escape if the sauce gets too hot.
 6) Now you can serve with your favorite pasta, refrigerate, or freeze. Yum!

Happy Day!
Jenn